Code Blue Build
About
"Code Blue" is a modified Competitor 4 kit from Wildman Rocketry. This rocket was built and flown as my Level 3 high power certification rocket. This meant that following its successful flight, I would now be able to fly M, N, and O impulse motors and beyond - the biggest motors out there. Construction of Code Blue began in November 2013 and was completed in April 2014. Its first flight was on May 17, 2014 on an Aerotech L850W.
Part of doing an L3 certification requires documentation, that is, taking photos throughout the build to share with your technical advisors. Long before this website was created, I did my documentaion via a thread on The Rocketry Forum. That thread still exists today should you wish to view it - all the photos are the same as below, but you can view some of the "commentary" from other forum members. :)
Sadly, Code Blue did not get to live a very long life. On its 5th flight, it suffered a recovery failure and was damaged beyond repair. More on that later...
Specifications
- Length: 9 feet
- Diameter: 4 inches
- Motor: 75mm
- Airframe material: Fiberglass
- Fin meterial: Fiberglass
- Nosecone material: Fiberglass
- Altimeters: MissileWorks RRC3 and a PerfectFlite StratoLogger SL100.
- Recovery: SkyAngle Cert-3 drogue (24") and a 10' Rocketman main.
Construction Photos
Click any image to view it larger.
Rocket Kit
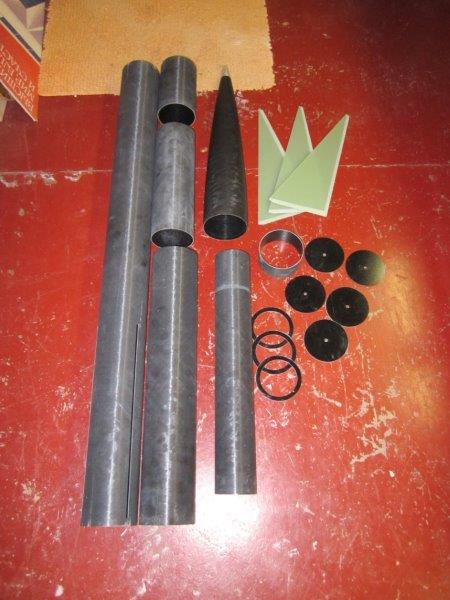
These are the contacts of the Competitor 4 kit from Wildman Rocketry. As you can see, it's not much...just some fiberglass components. As I had never built a rocket of this "variety" before I was a bit surpised when I first opened the box. Thankfully, I quickly determined that I did in fact know what I was doing!
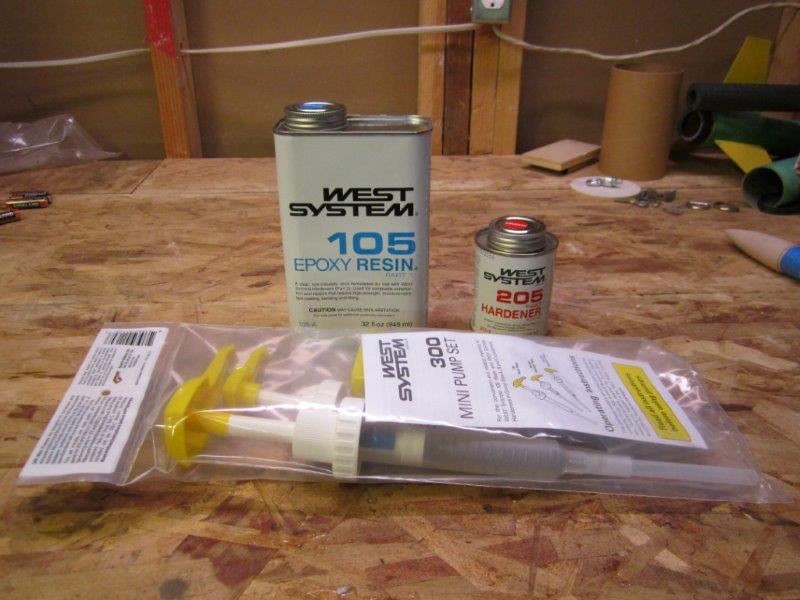
I built this rocket using nothing but West Systems 105/205 epoxy from West Marine. Their pump system makes for much easier measuring and mixing.
Fin Can
Construction of Code Blue began with the fin section and motor mount. First, we glue the 2 forward centering rings in place.
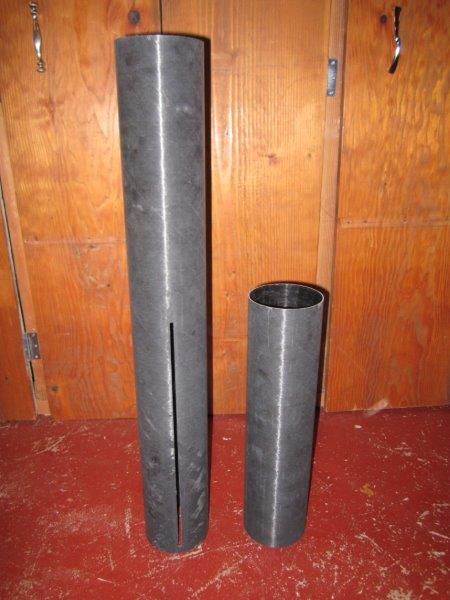
One of the many modifications I made to this kit was adding an anti-zipper design. By doing this, I cut the booster section down (as shown here), and adding another coupler and airframe section.
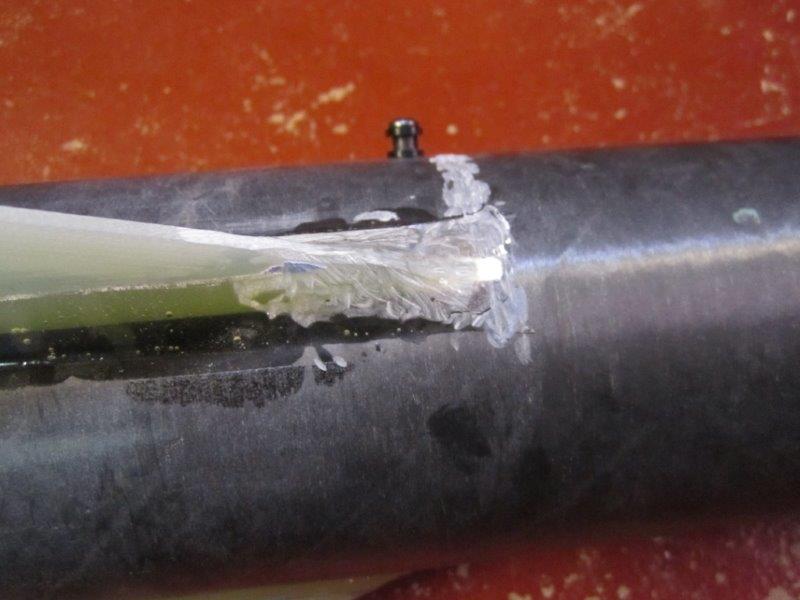
Before we glue the motor mount in, we install our rail button anchors. A simple #8-32 t-nut behind each 1010 rail button makes for a very sold attachment point. While not shown here, these t-nuts are also epoxied in place.
Now we glue the motor mount in and begin setting fins!
Completed fin setting.
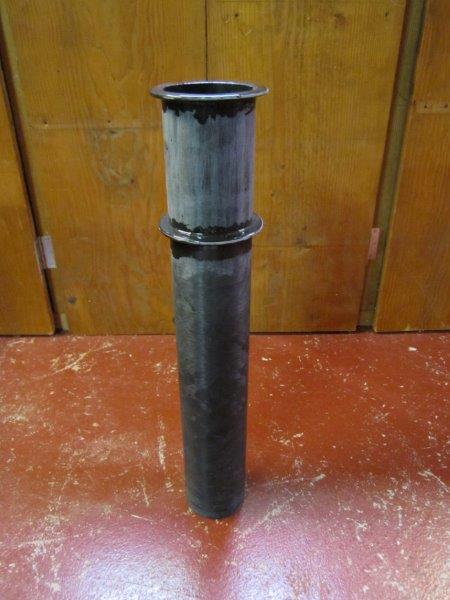
Now we're ready install the anti-zipper design - a 12" x 4" fiberglass coupler. Also shown here is the SkyAngle Cert-3 drogue and 72' of tubular nylon shockcord.
Anti-zipper coupler in place.
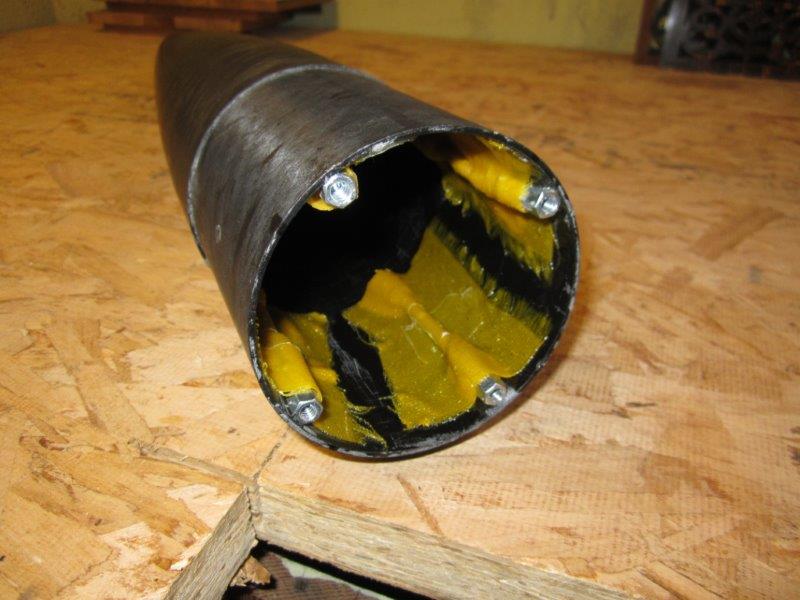
I used X-30 Expanding Liquid Foam from TAP Plastics in the fin can of Code Blue. This is a 2-part mix that expands somehwere around 30 times its original volume! It makes for super-strong fin attachments.
Masking tape is used to ensure that we only get foam where we want it, and so that it won't run down the sides of the airframe.
Just mix and pour! And don't turn your back on the ocean...
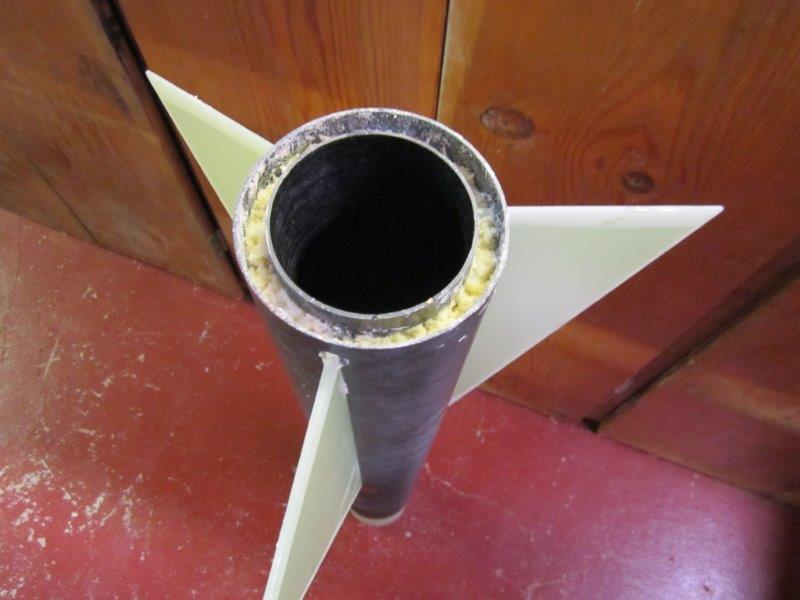
Once the foam has fully expanded, cured, and hardened, we remove the excess foam using a hacksaw blade and carving tools.

Now, the aft centering ring is epoxied into place.
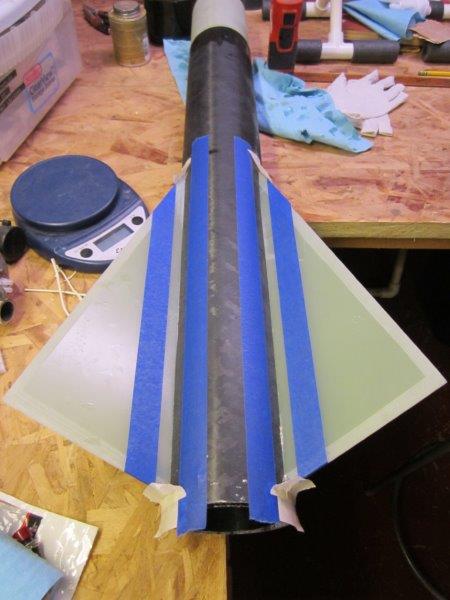
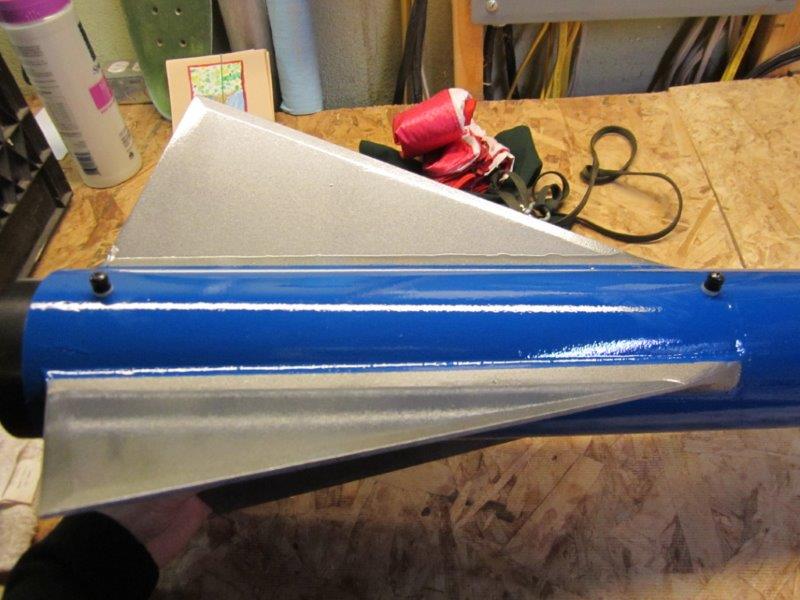
Next we move on to fillets. Blue painter's tape can help with forming a nice straight line and cleaning up any epoxy residue. Note the "tape dams" at the end of each fillet to prevent the epoxy from running off the edges.
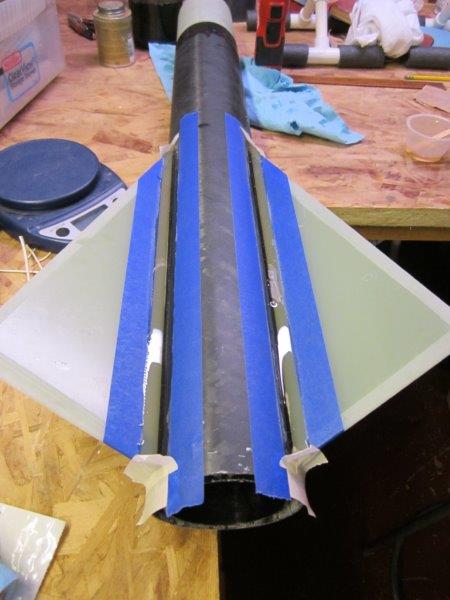
A quick pour of West Systems epoxy does the trick! Once it cures we move on to the second set of fillets, and then the third.
When all that is complete, a Dremel tool is used to smooth the sharp edges of each fillet, which are caused by the "tape dams."
Completed fin section next to a Rouse-Tech 75/5120 case.
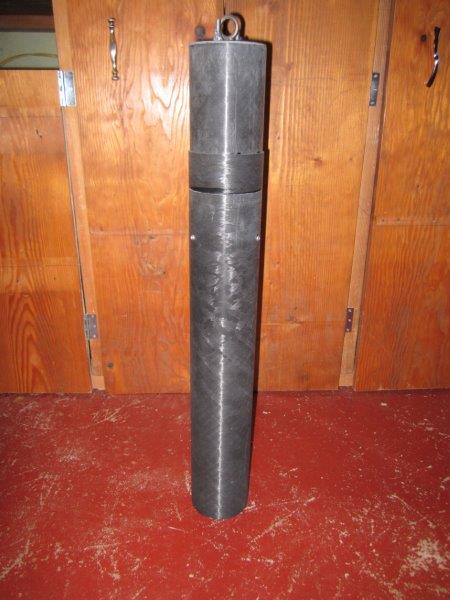
Altimeter Bay
The altimeter bay consists of a 12" x 4" fiberglass coupler, bulkheads, and a 2" switch band. (Not pictured here.) The I cut 2 x 1/4"-20 all-thread rods to length and added the requisite nuts and washers.
Internal components assembled.
Next we add 1/4" forged eyebolts to each av-bay lid.
The av-bay attaches to the drogue bay - a 22" long section of airframe - using sheet metal screws. This 22" bay is actually supposed to be for the main chute but that's awfully short. So I used it for the drogue instead, and got a longer airframe section for the main.
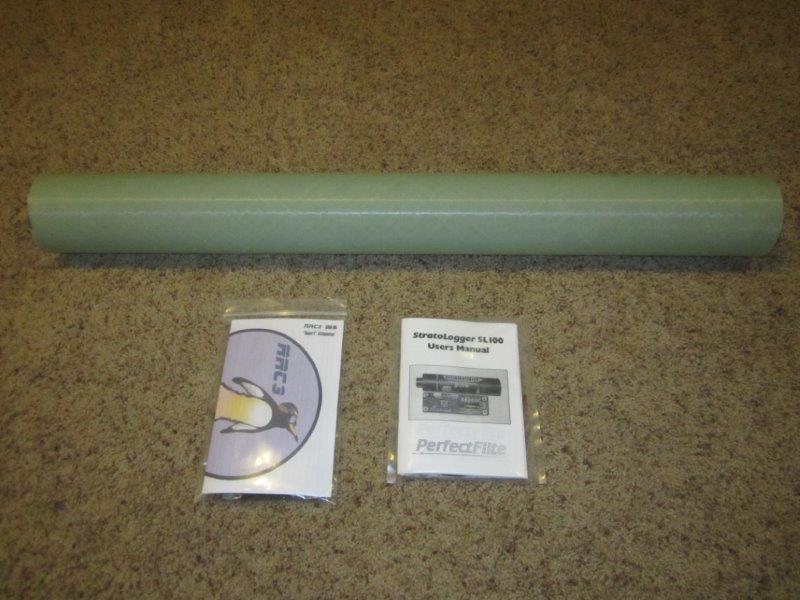
I used a 36" x 4" section of fiberglass airframe from Performance Hobbies as my main bay to allow more room for the chute. In hindsight this was a very wise idea! My altimeters were also sourced from Performance Hobbies.
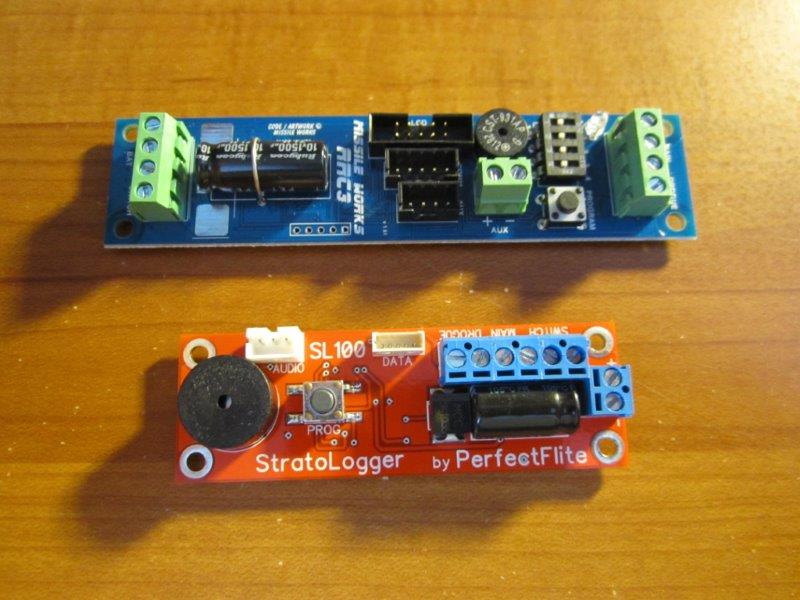
In this rocket I used a MissileWorks RRC3, and a PerfectFlite Stratologger SL100.
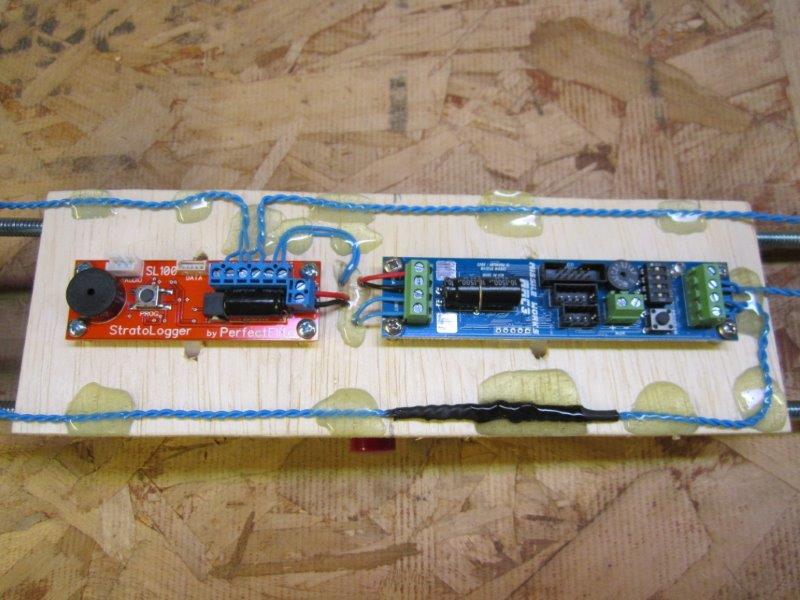
We mount these on the av-bay sled, then wire everything in place.
The back side of the sled houses 9V batteries and push-button switches.
Once the internal wiring is complete, we move on to the outside. Pictued here are the PVC caps and terminal blocks which will be mounted on each side of the av-bay.

The PVC caps hold the BP charges (1 primary and 1 backup), and the ematches for each charge get wired into the terminal blocks.
Nosecone
The Competitor 4 kit comes with a black fiberglass 5:1 Von Karman filament-wound nosecone with a coupler and aluminum tip.
Shown here is the hardware we will use to mount the nosecone bulkhead in place - #10-24 x 2 1/2" pan head machine screws, #10-24 x 3/8" pan head machine screws, and #10-24 hex couplers. (As well as a few kwik-links for recovery harnesses and chutes.)
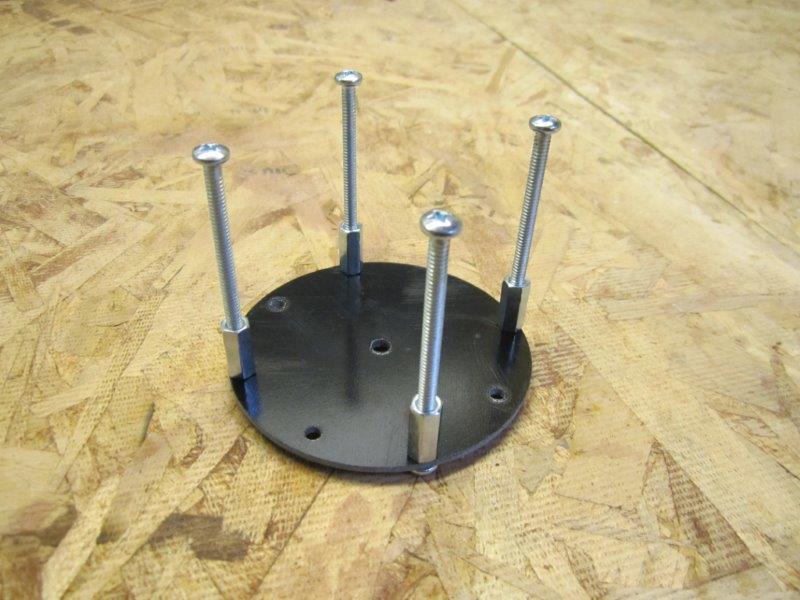
To secure the nosecone bulkhead in place, I used a method I learned from fellow rocketeer Vern Knowles. First, we install the screws and hex couplers as shown.
Next we insert that assembly into the nosecone, tack the anchors into place using hobby epoxy, then remove the bulkhead. A layer of Kevlar and West Systems epoxy secures the anchors into place for a near-bulletproof attachment.
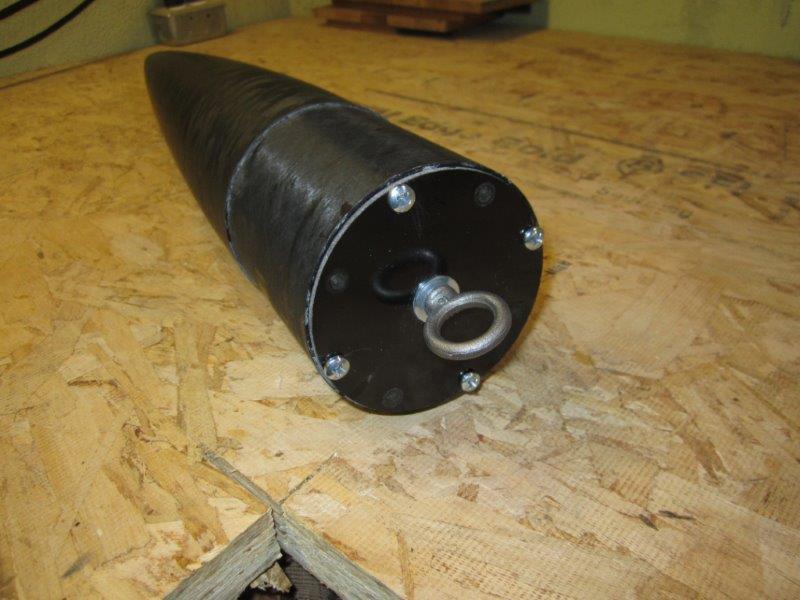
Another 1/4"-20 forged eyebolt completes the nosecone.
Fully-Assembled Rocket
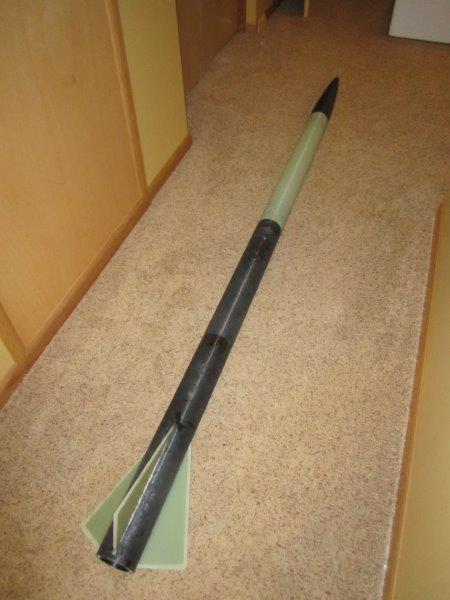
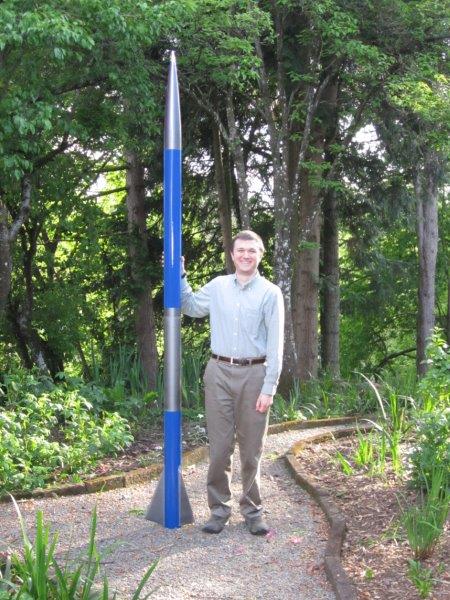
With all of the individual components finished, we can now do a full aseembly of Code Blue!
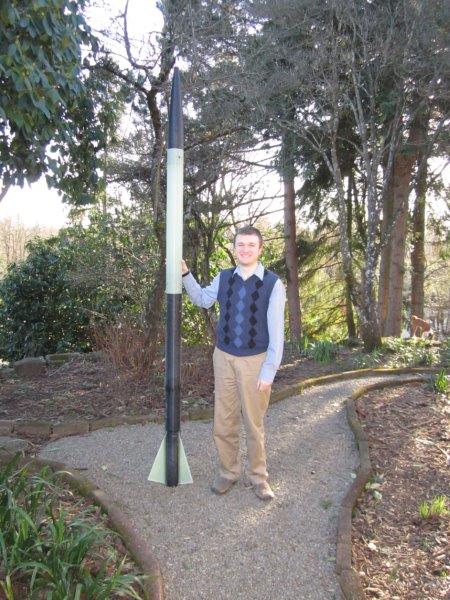
Posing on a nice day.
Painting
Code Blue was painted using catalyzed urethane-based paints. Click here to see how this was done.
Recovery
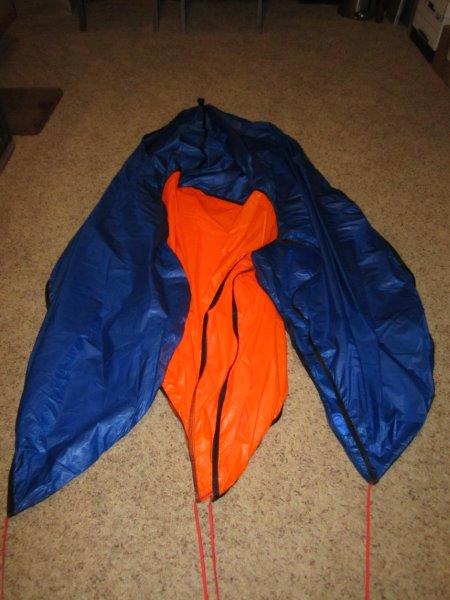
A 10' Rocketman chute is used for the main.
Motor Retainer and Rail Buttons
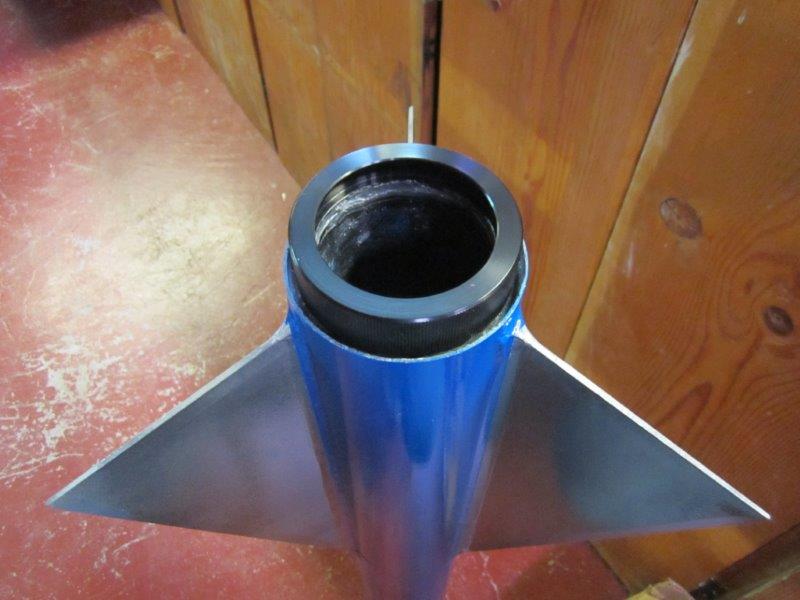
For motor retention, I used a 75mm threaded Aeropack retainer.
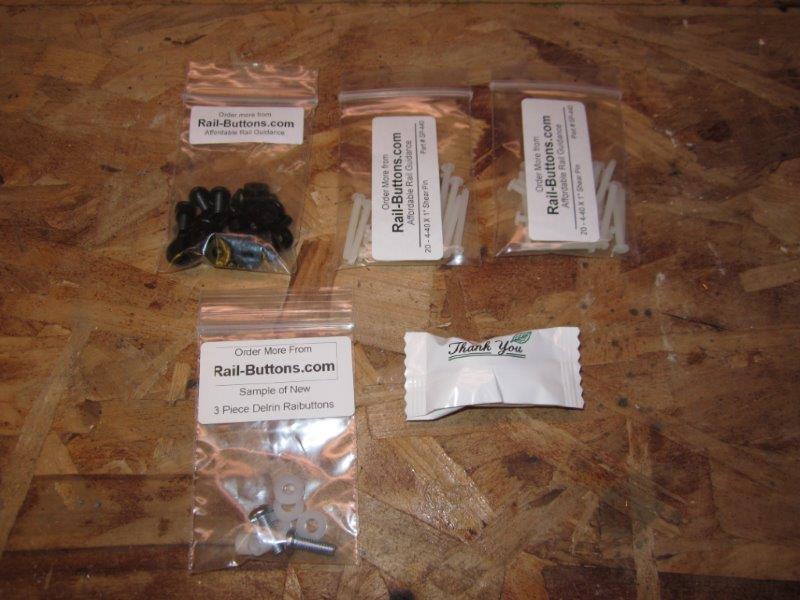
I source my rail buttons from the appropriately-named Rail-Buttons.com! Also included here are some #4-40 nylon screws, for use as shear pins.
Rail buttons installed. I also added a few spacers underneath each button to ensure that the rail won't scratch up the paint.
Finishing
Code Blue all finished!
The individual airframe sections ready for transport to its first launch.
Flight Log
- May 17, 2014 - Aerotech L850W (Brothers, OR).
- First flight, max altitude 8,126'.
- June 28, 2014 - Aerotech M1297W (Brothers, OR).
- My L3 cert! Max altitude 13,322'.
- July 26, 2014 - Aerotech M1297W (Brothers, OR).
- Max altitude 13,581'.
- August 23, 2014 - Aerotech M650W (Brothers, OR).
- Max altitude 16,612'.
- October 18, 2014 - Cesaroni M840 White Lognburn (Brothers, OR).
- Final flight as the drogue did not deploy, and the rocket came in ballistic. Max altitude approximately 21,000'.