Great BALLS of Fire Build
About
This rocket is actually the 2nd iteration of a 75mm minimum diameter project. For the sake of brevity, I will not cover the original design (different nosecone and deployment setup) here. However, you can find all the details in my Rocketry Forum Build Thread if you wish.
The unique part of this rocket is that it uses an all-aluminum, Max Q Aerospace Fin Can by Mike Fisher of Binder Design.
Unfortunately, this rocket was lost in July 2015 and more than likely didn't survive. I'll find it someday...
Specifications
- Length: 6 feet, 6 inches
- Diameter: 3 inches
- Motor: 75mm (minimum diameter)
- Airframe material: Fiberglass
- Fin meterial: Aluminum
- Nosecone material: Fiberglass
- Altimeters: Featherweight Raven2 and a MissileWorks RRC2+.
- Recovery: Rocketman 24" drogue and a Rocketman 6' main.
Construction Photos
Click any image to view it larger.
Fin Can
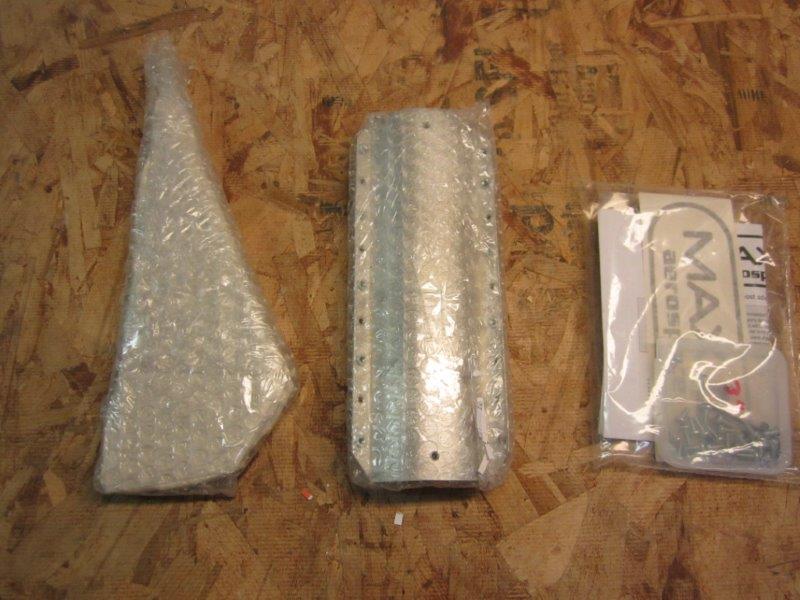
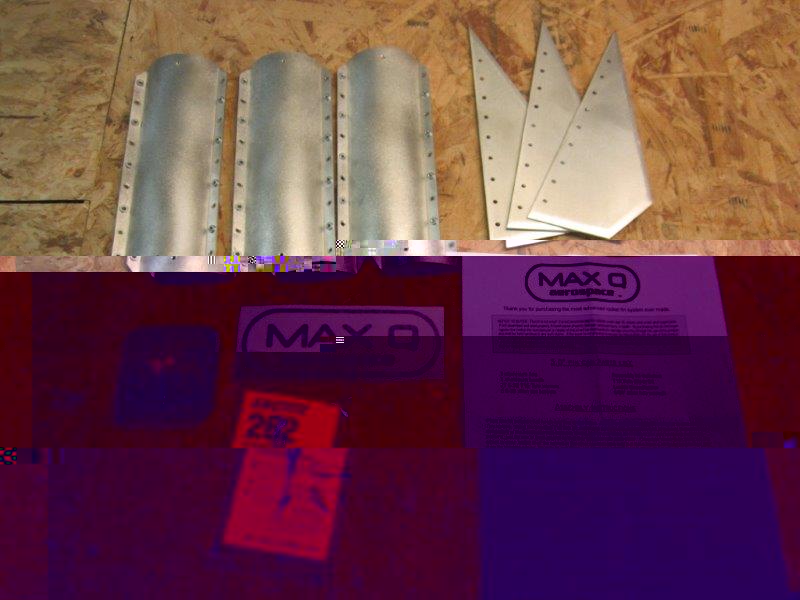
This is the assembly kit that comes with the Max Q Aerospace fin can - fins, bands, as well as screws, threadlocker, etc.
Full kit.

The fin can is assembled using T15 Torx screws.
Airframe and Nosecone

The airframe is a 3" x 5' fiberglass tube from Hawk Mountain Rocketry.

The 3" 5:1 Von Karman nosecone with coupler and bulkplates came from ProLine Rocketry.
Altimeter Bay
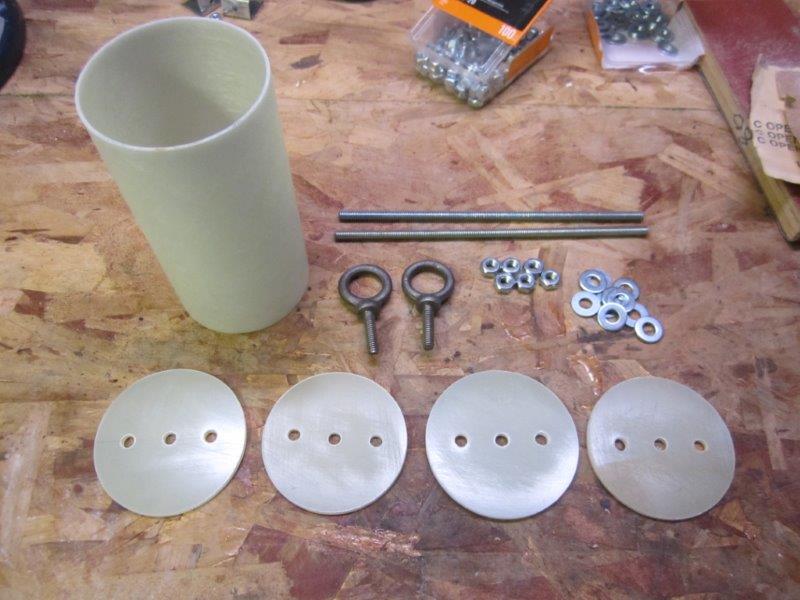
In this rebuild, the nosecone coupler serves as the altimeter bay. Pictured here is the coupler, bulkplate set, as well as all-therad/nuts/washers/eyebolts.
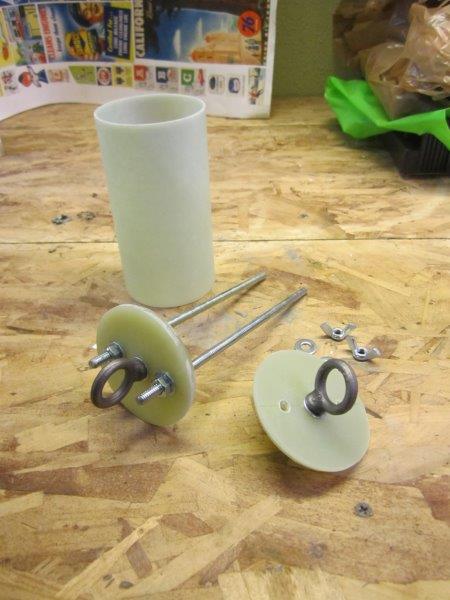
Av-bay components assembled.
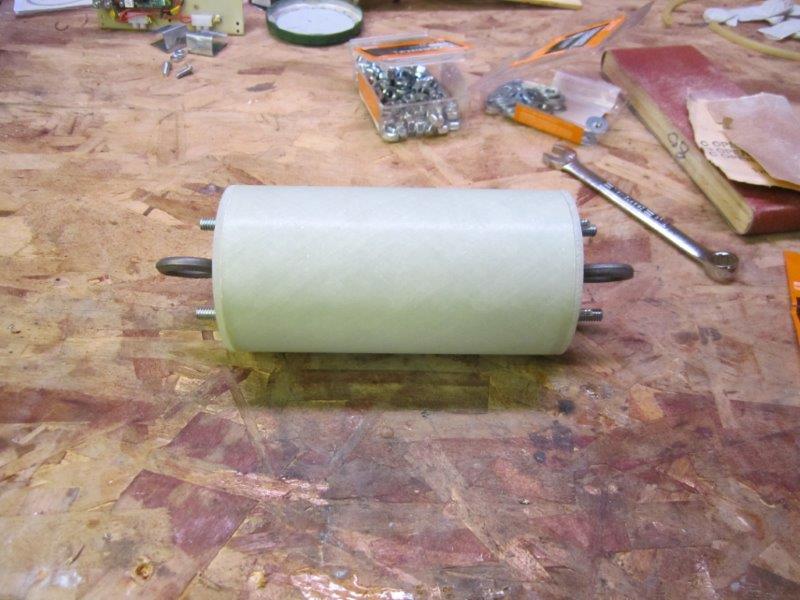
Av-bay exterior.
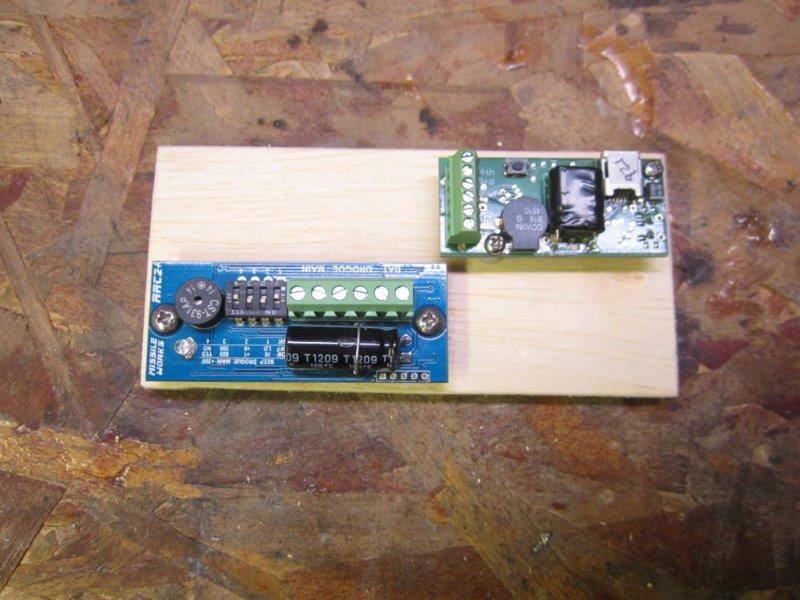
Now we move on to the sled, by cutting a piece of plywood to size and mounting the altimeters in place.
Altimeters wired into place with switches installed. For this av-bay I used screw switches from Featherweight.
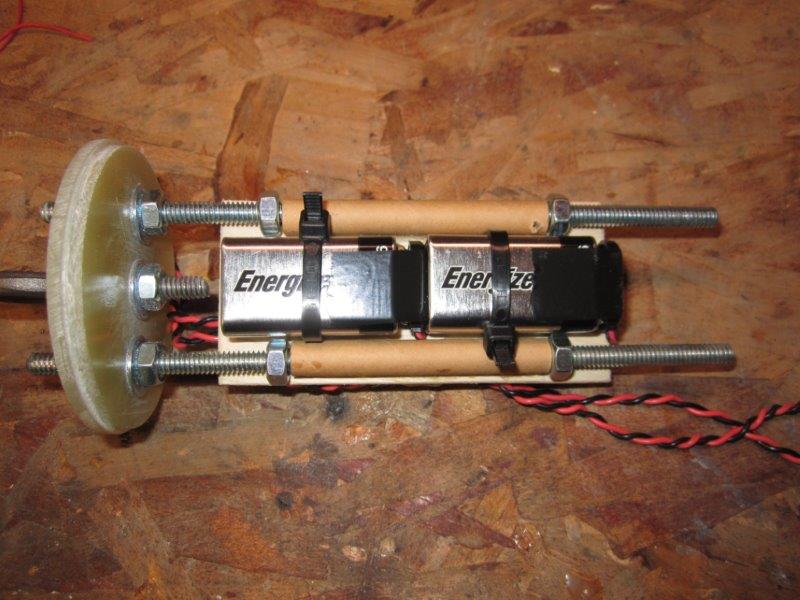
Back of the with 9V batteries secured using cable ties.

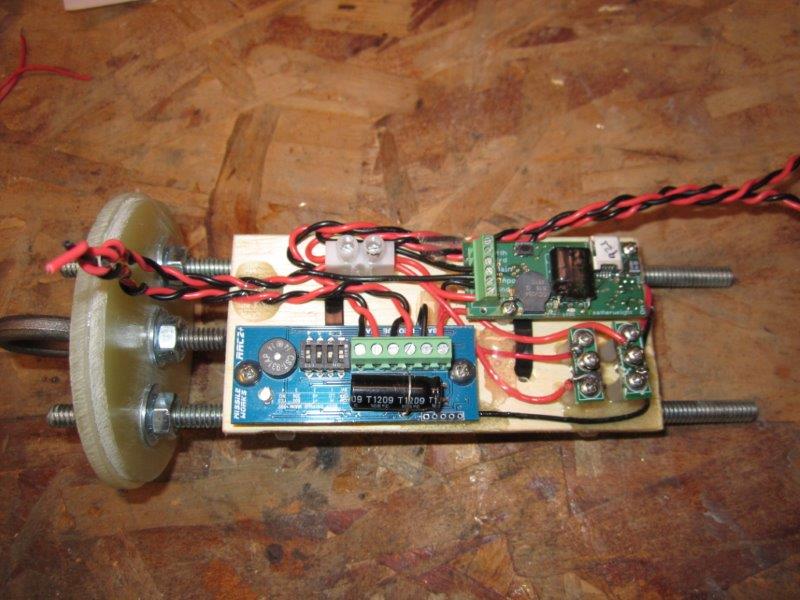
Completed av-bay interior, with all wiring complete and crimp-on connectors in place.
We finish the exterior of the av-bay by installing a switch band. This ensures that the bay will not move in either direction.

The dorgue (forward) end of the bay houses 2 terminal blocks, where we will attach surgical tubing charges to.
The main (aft) end of the bay houses 2 terminal blocks as well, but this side has PVC caps for the main charges.
Recovery
In this rebuild, we need a way to attach the drogue harness to the nosecone tip. This is because the inside of the nosecone serves as the drogue bay, and we need to maximize space there. Paul Bogdanich from OROC was able to machine me exactly what I needed - an eyebolt with a spacer that threads into the Von Karman nosecone tip. The decive is cast out of epoxy and is virtually indestructible. Note the eyebolt has been welded closed as well.
This is what the nosecone eyebolt looks like, threaded into place.
First we tie the harness to the eyebolt assembly.
Then thread it into the nosecone tip.

For chutes, I use a 24" drogue and a 6' main, both from Rocketman Enterprises.
Completed drogue harness - this all gets stored inside the nosecone itself.

Completed main harness - and this all gets stored inside the airframe.
Rail Buttons

Since this is a minimum diameter rocket, we can't attach the rail buttons through the airframe - we have to surface-mount them. I do this using Kevlar and weld-nuts. (Basically flat nuts.) The weld-nuts have been bent slightly so they will sit nice and flat on the airframe.
We begin by attaching these nuts using a small piece of Kevlar and West Systems epoxy.
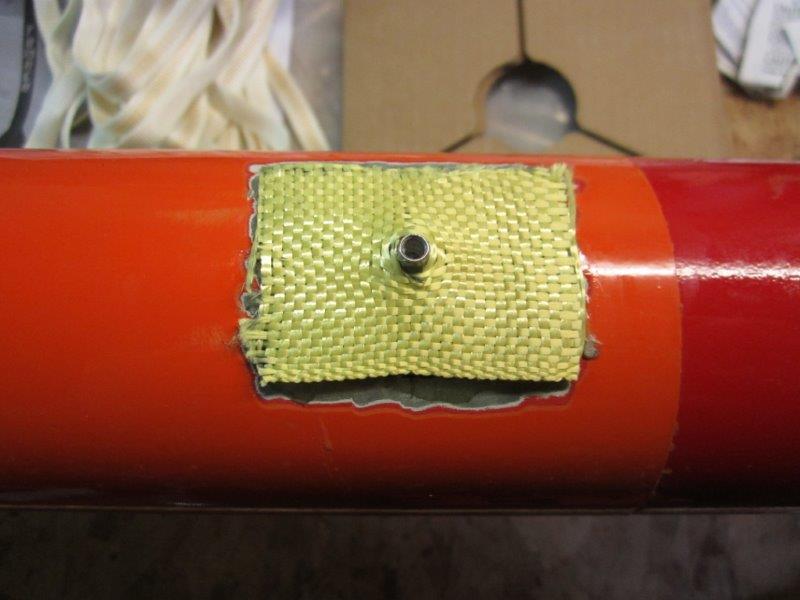
After the epoxy cures, we add a second layer of Kevlar.

And then saturate the whole assembly with epoxy. This is obviously way overkill for attaching rail buttons, but I wanted to make certain that they wouldn't pop loose.
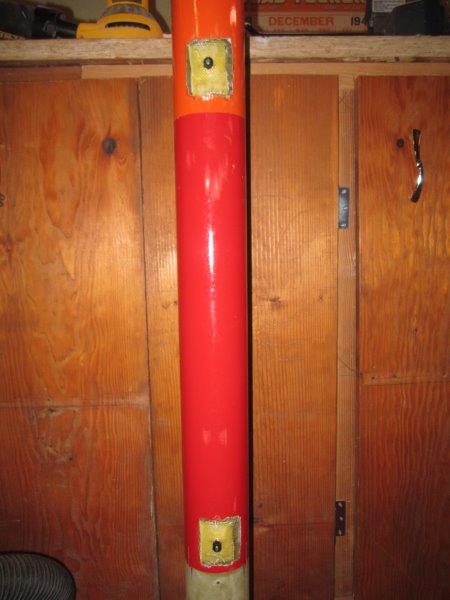
Completed rail buttons.
Finished Rocket
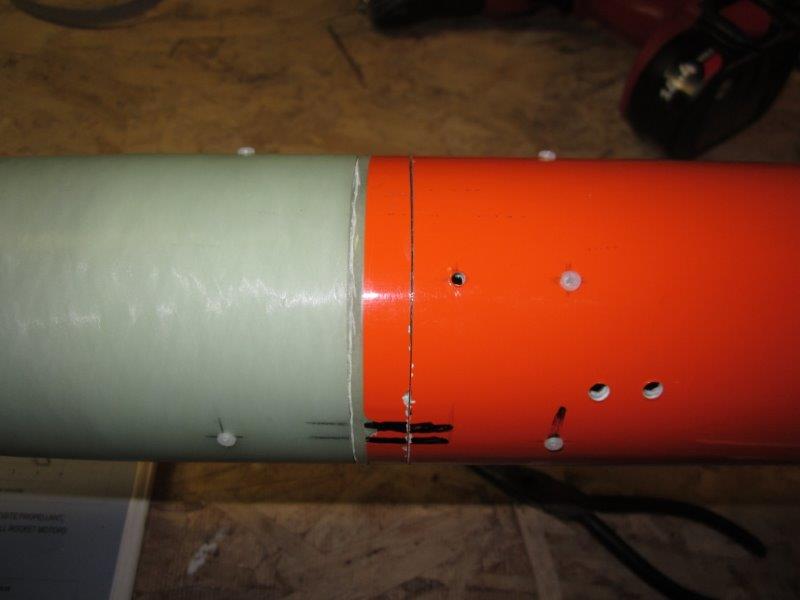
The completed forward end of the rocket looks like this when ready for flight. The av-bay, chutes, harnesses and shear pins are all in place. Note the arming holes in the airframe as well as the extra shear pins there. This is done to ensure that the force of the drogue deployment will not cut the main shear pins, as well.

Completed rebuild...although it could use some new paint in a few places.
Flight Log
- January 31, 2015 - Aerotech K550W (Brothers, OR).
- First flight in new configuration, max altitude 7,617'.
- March 14, 2015 - Aerotech M1850W (Brothers, OR).
- Max altitude 25,322'.
- July 25, 2015 - Cesaroni M1810RL (Brothers, OR).
- Flown to approximately 23,000', but came in ballistic and was never recovered.