Launch Pads
To date, I have built 2 launch pads.
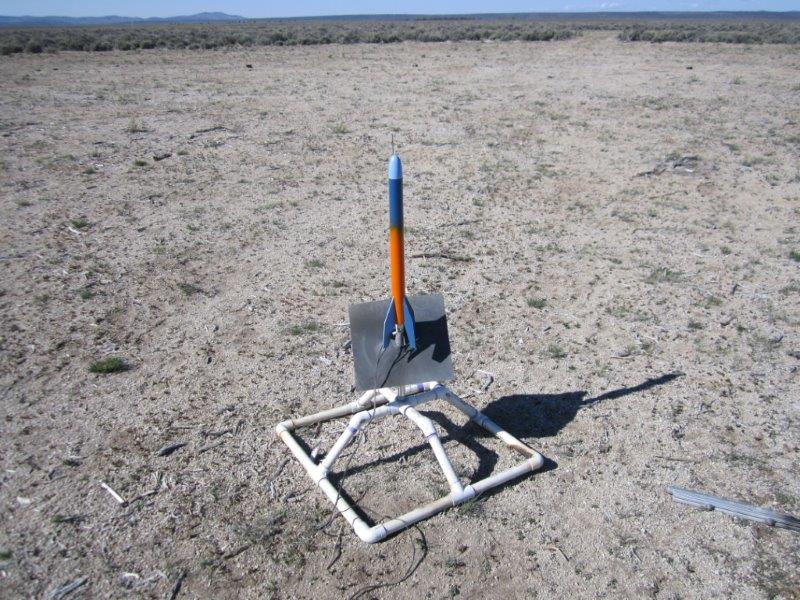
PVC Stand
The first pad I built was out of PVC pipe and some metal fittings. It was designed to house anything in between an 1/8" launch rod and a 5' tall 1010 rail.
Pad with 1/8" rod installed.

Pad with 1010 rail installed.
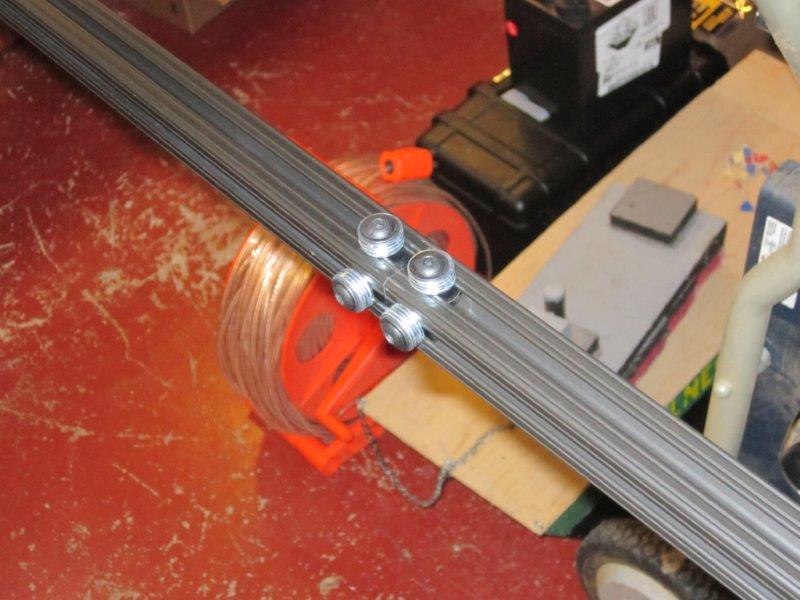
The attachment point on the pad is male threaded, so what I did was make my rail/rod attachment female threaded. That way, all you need to do is unthread the attachment to change in between rods and rails. The rod attachment is made to accept any size launch rod. This also makes for easy packing, storage, and transport.
This pad works very well for low and mid power rockets, however, for most high power rockets, something bigger, stronger, and more robust is needed.
Tower
I first got the idea to build a tower from my good friend (and L3 TAP) David Holloway. For my cert flight, he loaned me his tower to fly off of. I was impressed with its design, strength, and versatility, so very quickly I started asking questions about building my own.
David was kind enough to assemble and provide me with a list of materials and suppliers he used, as well as the "plans" for such a project. So I pondered the design, thought about slight changes to better suit my needs, and then started ordering parts!
Trusses
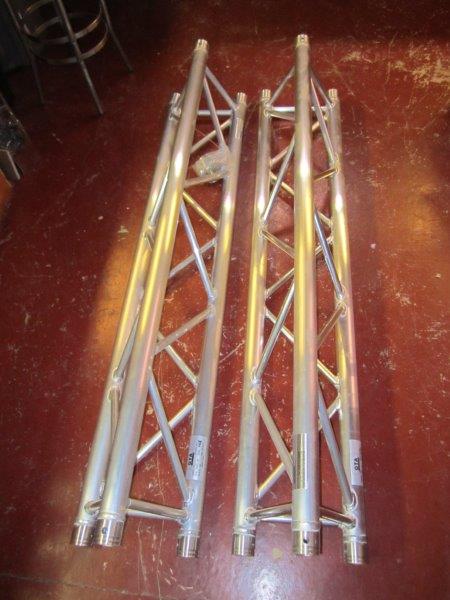
The basis of this project is a pair of 5' tall stage lighting trusses. These are used at rock concerts to hold lights, sound equipment, and so on. They are made from aluminum and are therefore very lightweight. These trusses came from www.cheaplights.com, a stage lighting supplier based out of Houston, TX. They are part # 170-TR492 and are manufactured by Global Truss. 2 trusses were used to save on shipping, plus to serve as a rail attachment point (more on this below).
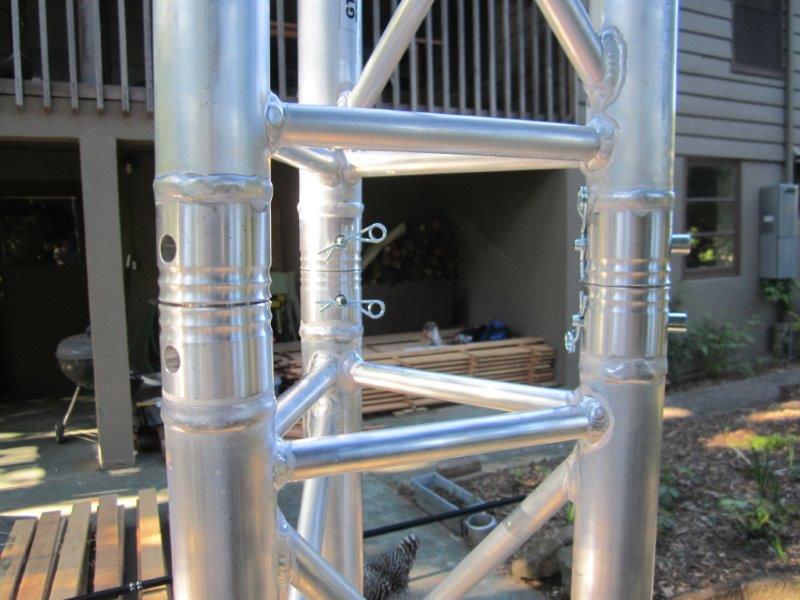
Launch Rail
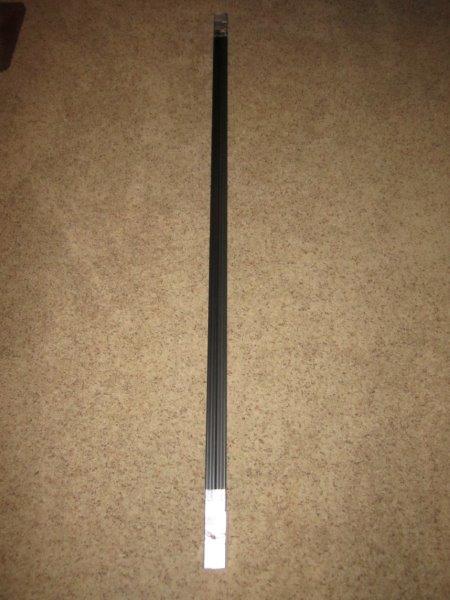
For this project, I used 2 x 6' sections of black anodized 1010 rail, joined in the middle. Once again, this was done to save on shipping. It was ordered from TECO Pneumatic and is manufactured by 80/20, Inc.
Hand Truck
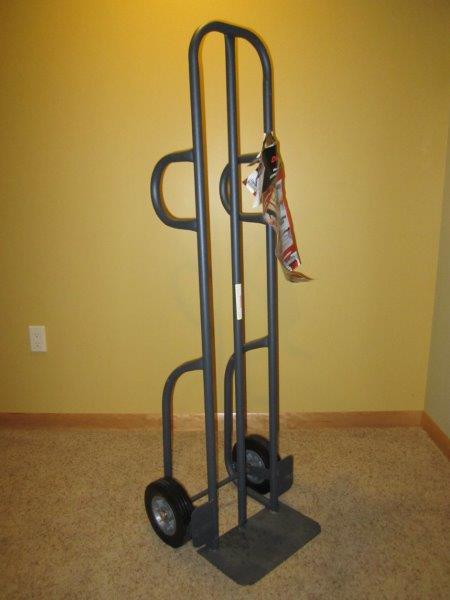
For ease of transportation and ease of loading a rocket, the tower is mounted to a common hand truck. It is the correct width to fit properly and the one I chose is part # 449901 from Home Depot, manufactured by Milwaukee.
Assembly
Assembling this thing was actually pretty easy - but it's also made not to come apart.
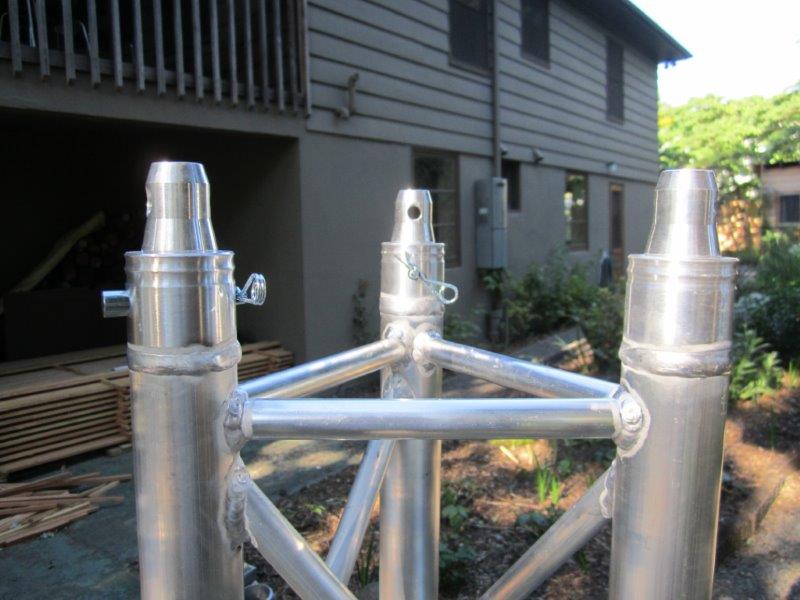
First, the trusses are bolted together. This is done using a set of hardware that comes with each truss - a system of torpedo-esque connectors, pegs, and cotterpins. Note that only 2 of the 3 sides of the truss get the pegs and cotterpins.
Then, we can stack the second truss on top of the first, and secure it in place. Again, notice that one of the sides does not have pegs/pins. We'll get back to that one later.
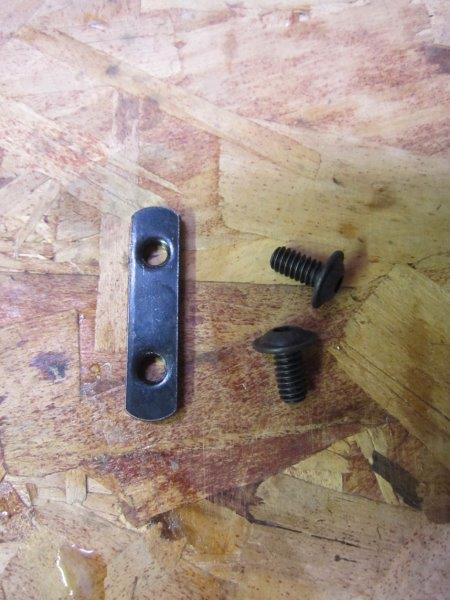
Now, we join the 2 sections of rail together using "double slide-in t-nuts," part # 47065T147 from McMaster-Carr.
A t-nut plate goes inside 3 of the rail channels (the 3 I'm not using) with a few washers on the outside to form a "sandwich."
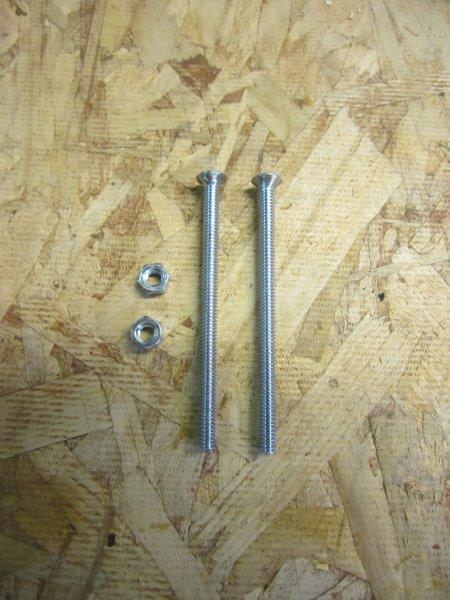
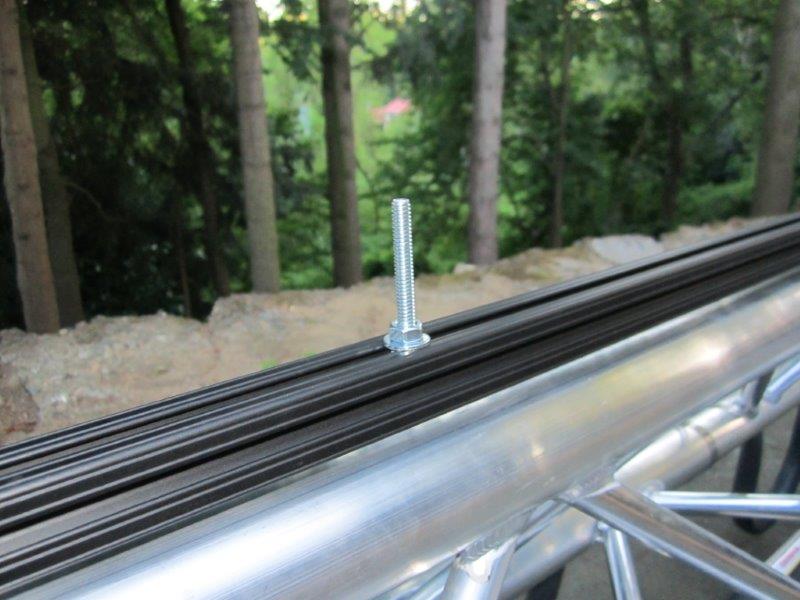
To attach the rail to the tower, I used several 1/4"-20 bolts, but ground the ends slightly on the bench grinder so they'll fit down the channel of the rail.

The bolt is slid down the (back) channel, then through the factory-drilled hole in the truss. Washers are then used as spacers between the truss and the rail. Lastly, another nut/washer tightened on the back side of the bolt holds everything in place.
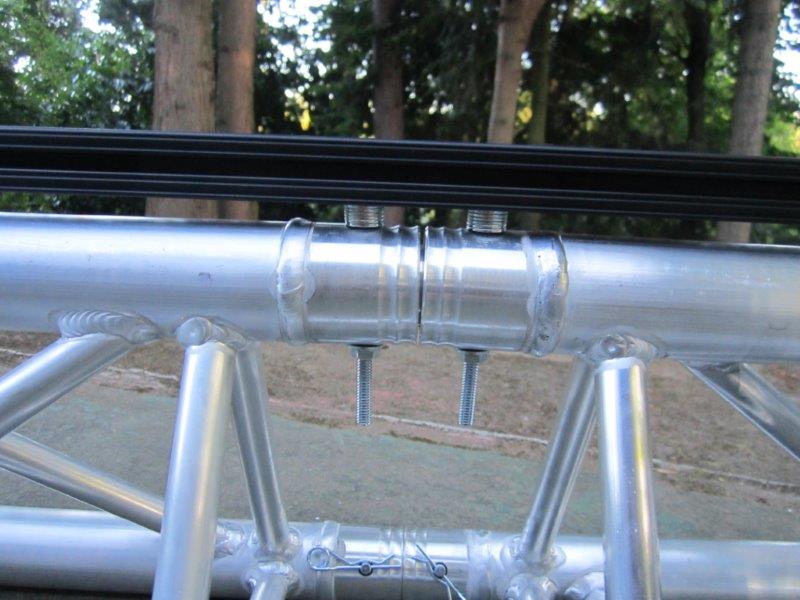
We now use these middle holes as the center attachment point for the rail. (Hence the absence of pegs as used on the other sides.)
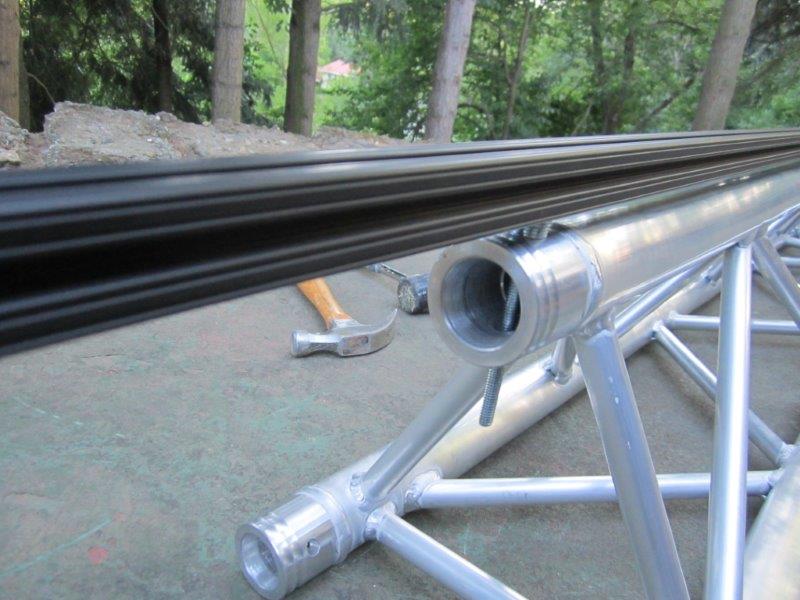
Lastly, the forward attachment.
The stand-off consists of another 1/4"-20 bolt (modified on the bench grinder as well), washer, and nut. This was later shortened (not shown here) after having difficulties with igniter placement on the pad.
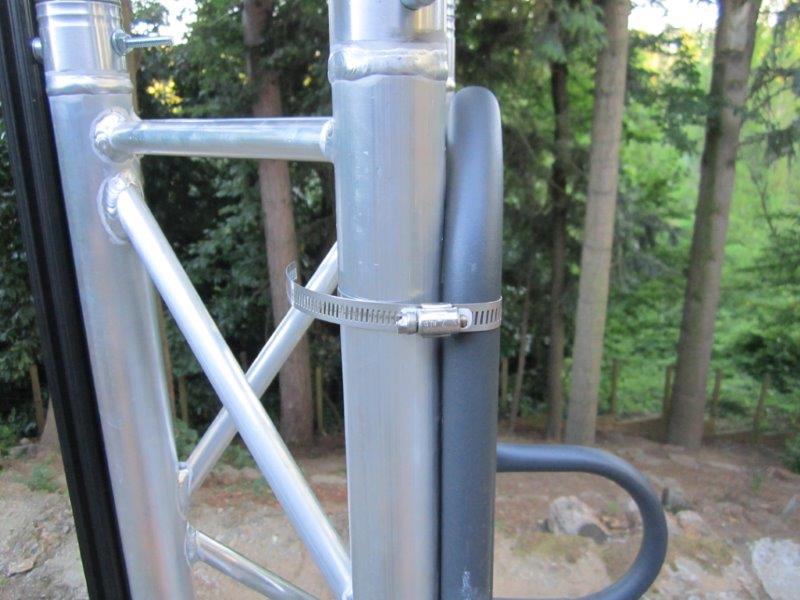
Hose clamps are used to mount the entire assembly to the hand truck. These are then removed for transportation and storage.
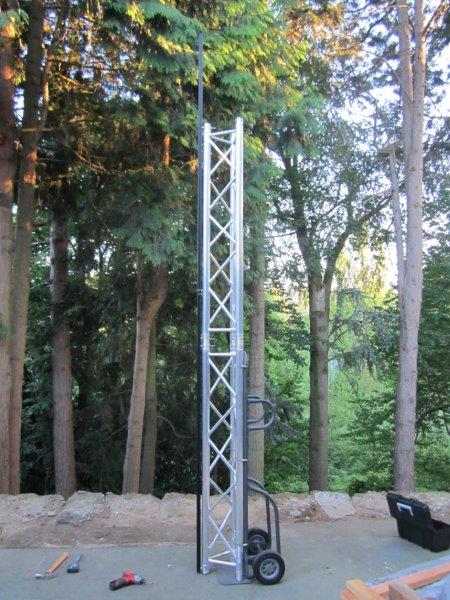
Completed tower!
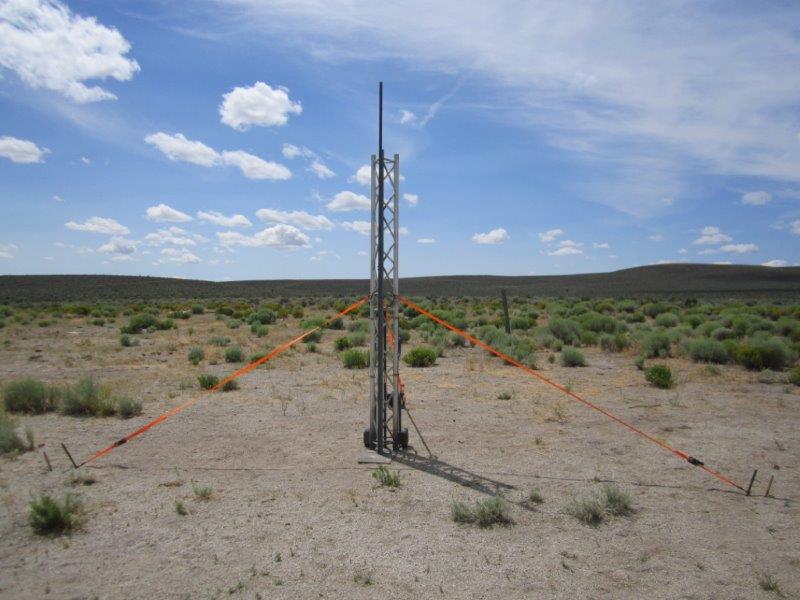
It is secured using ordinary cargo straps from Home Depot attached to concrete stakes pounded into the ground. Note it's just a LITTLE dirtier in this photo. :)
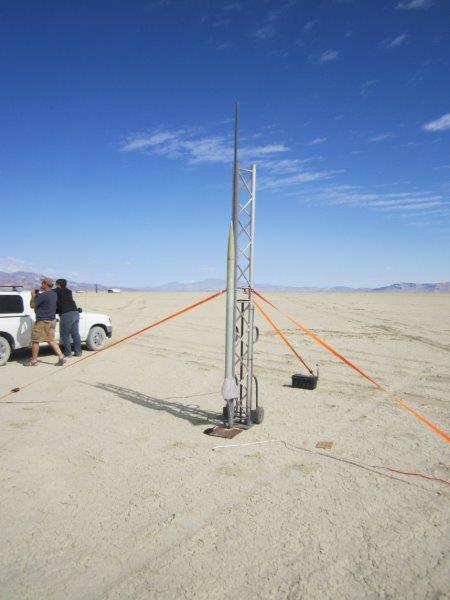
When loading a rocket, the front 2 straps are loosened, and then the tower is lowered using the hand truck wheels as a pivot point. After the rocket is in place, the tower is raised, the straps are re-connected, and finally tightened. In most cases, the bigger/heavier the rocket, the greater the straps will be tightened.
All in all, this was a really fun and rewarding project! It was a great investment too - now, I never need to worry about ground support whenever I go to a launch. :) Thanks to Fred Azinger and David Holloway for being the inspiration behind this project.