NXRS 2014 Research Test Vehicle Build
About
The NXRS 2014 Research Test Vehicle (aka NXRS RTV) by Binder Design was a special limited-edition kit offered to commemorate the OROC NXRS 2014 launch. This is all-in-all a great rocket that can fly on everything from I motors to K motors. Contruction of the NXRS RTV began in April 2014 and was completed in May 2014. Its first flight was on May 17, 2014 on an Aerotech K805G.
A feature of this rocket is that, like the Galaxy, it uses the same altimeter bay as my other Binder Design rockets.
Specifications
- Length: 7 feet
- Diameter: 4 inches
- Motor: 54mm
- Airframe material: Cardboard
- Fin meterial: Plywood
- Nosecone material: Plastic
- Altimeters: PerfectFlite StratoLogger SL100 and an Adept Rocketry Adept22 altimeter.
- Recovery: Binder Design 12" drogue and 45" octogon main.
Construction Photos
Click any image to view it larger.
Rocket Kit Contents
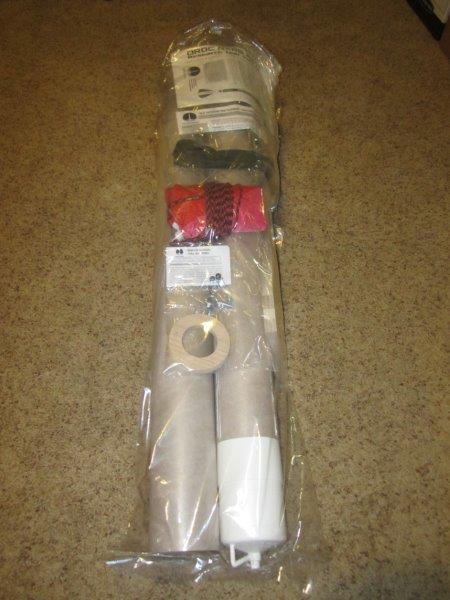
New rocket kit "fresh from the factory."
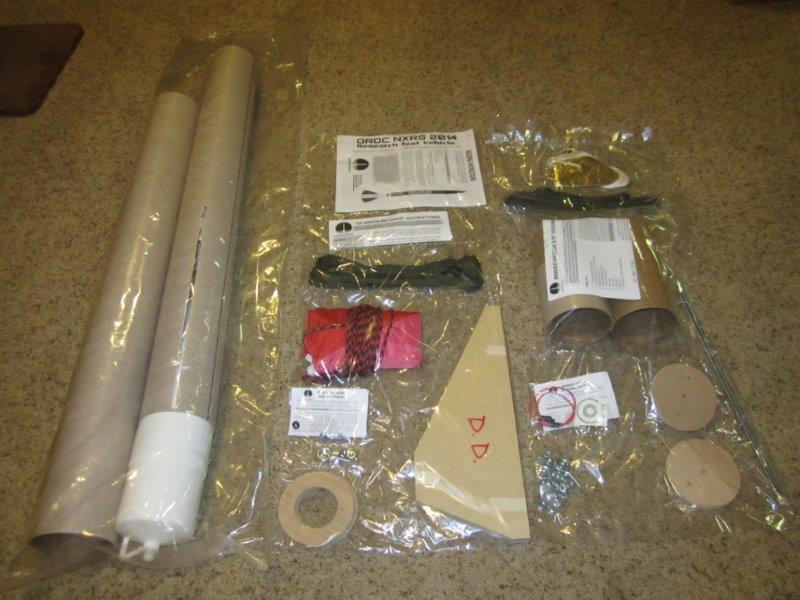
Airframes, fins, chutes...
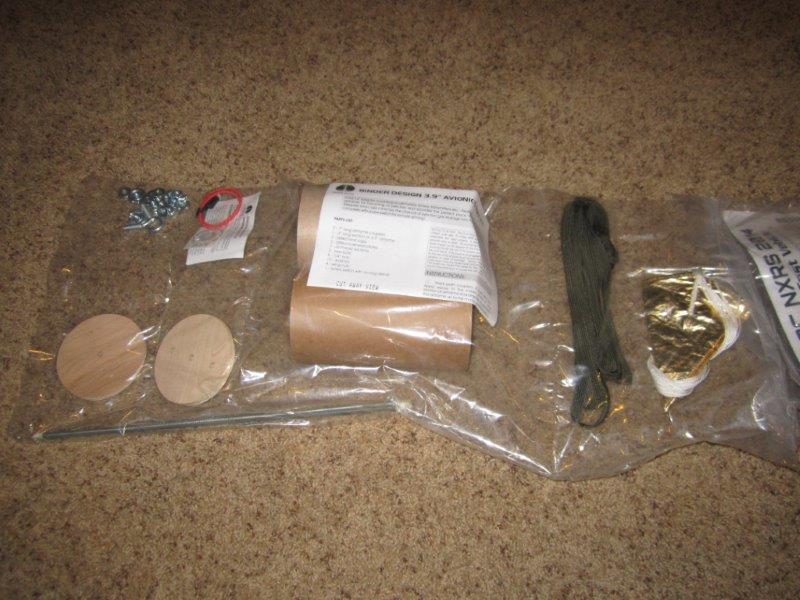
Binder Design 4" Av-Bay and dual deploy kit included.
Motor Mount
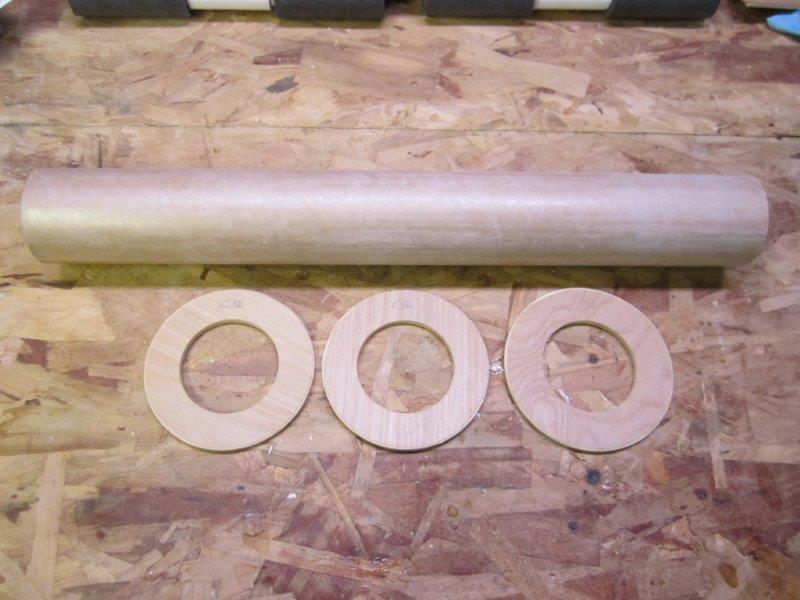
We begin work with the motor mount. The smooth exterior of the 54mm cardboard tube is sanded with 80-grit sandpaper which will now readily accept glue.
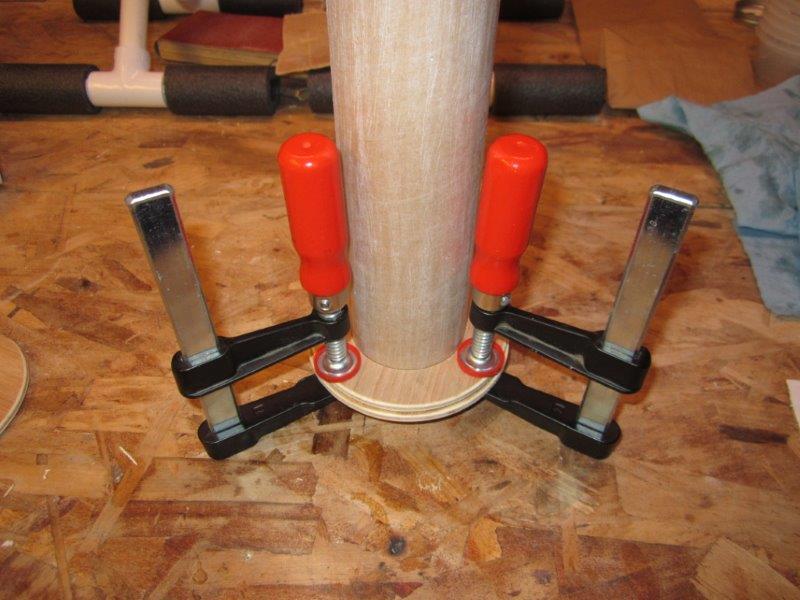
The aft end of the tube houses 2 centering rings, which are sandwiched together. Clamps help this process.
Fins
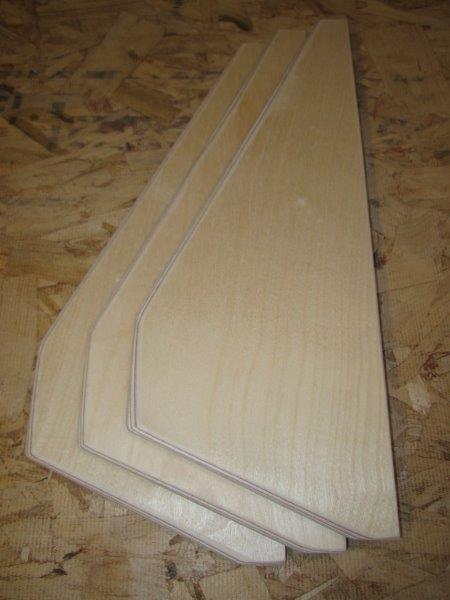
Fins sanded and beveled using an orbital sander. These fins are made of specialty 10-ply plywood from Finland. They grow only on fin trees there...
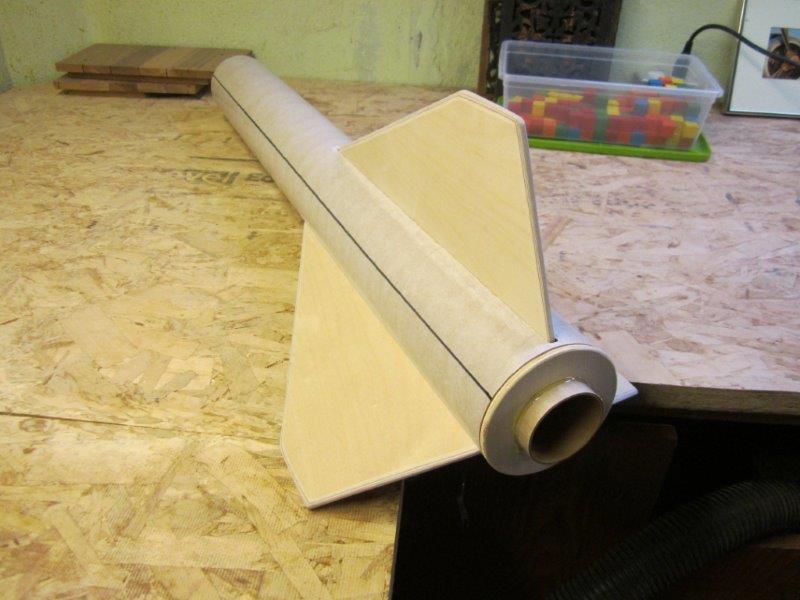
Setting fins in place.
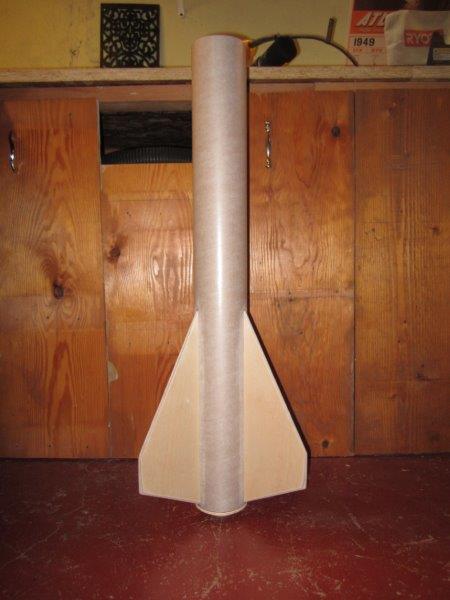
Completed fin section.
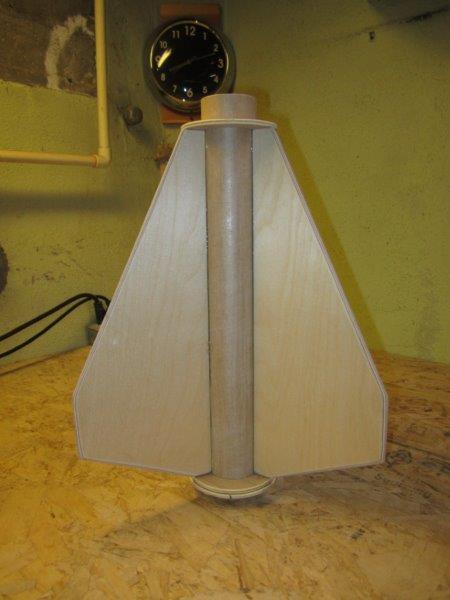
Now, as part of the modular fin can assembly, we remove the fin can from the airframe once the epoxy has cured. Right now the fins are only tacked to the motor mount - no epoxy in the airframe yet.

This allows for MUCH easier application of internal fillets. Note that they don't need to look pretty since this will all be inside the rocket.
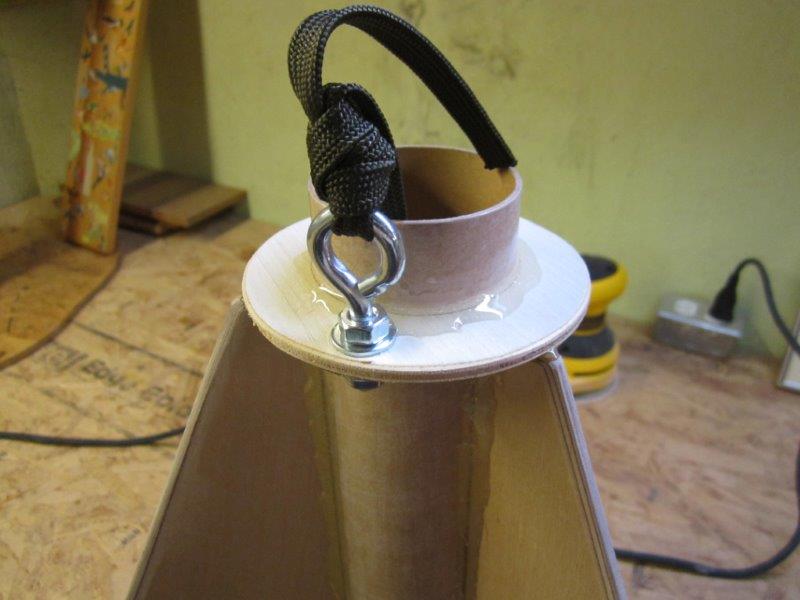
Eyebolt and drogue harness attached to the forward centering ring.
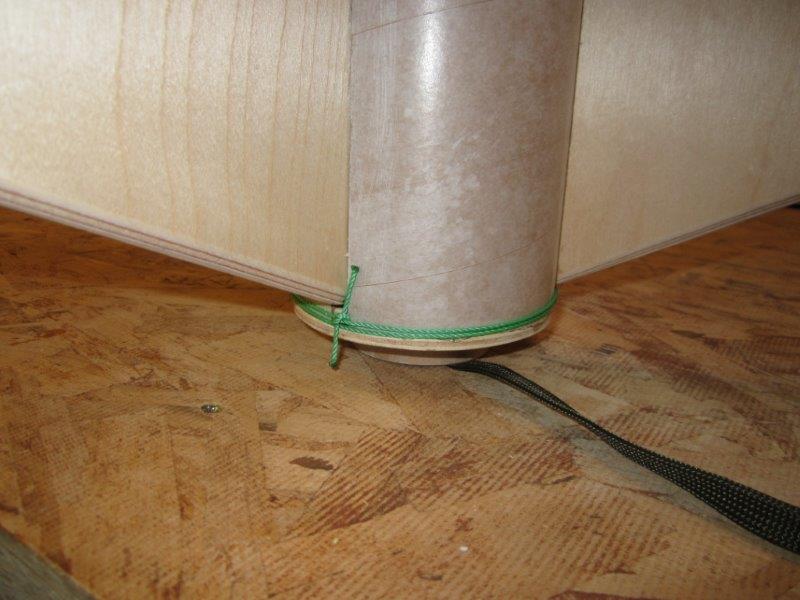
Once all the internal fillets are complete, we now permanently epoxy the fin can into place. A piece of string or rubber band around the aft end helps hold everything together while the epoxy cures.
Recovery
The kit comes with a 12" drogue chute. Note that this is not really necessary as the rocket is lightweight enough to decend smoothly without one. For the first flew flights I did use the drogue, but later removed it.
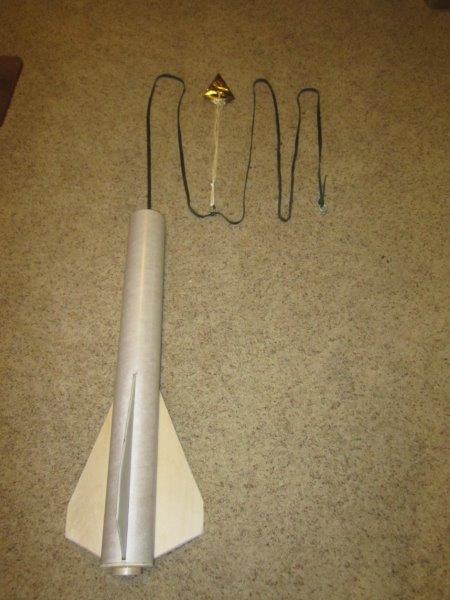
Completed drogue harness, with chute and strap.
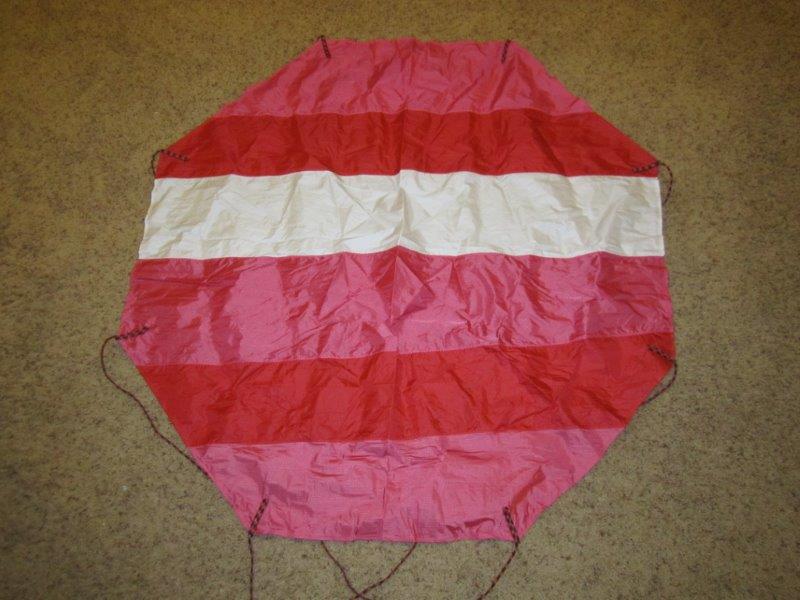
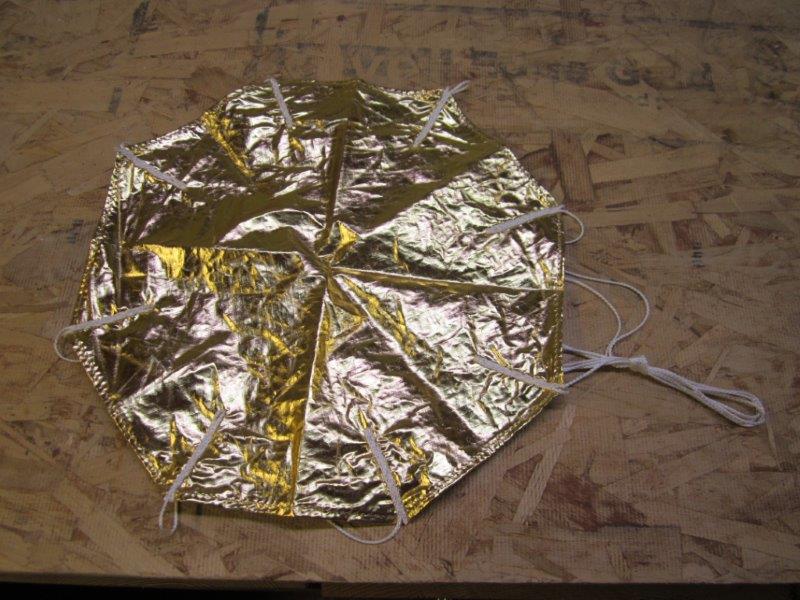
Also included is a 45" octogon main chute. This is a very sturdy chute complete with paracord shroud lines.
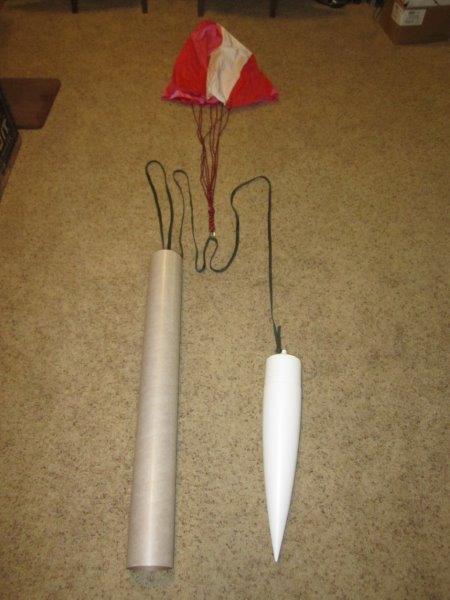
Completed main harness.
Fillets
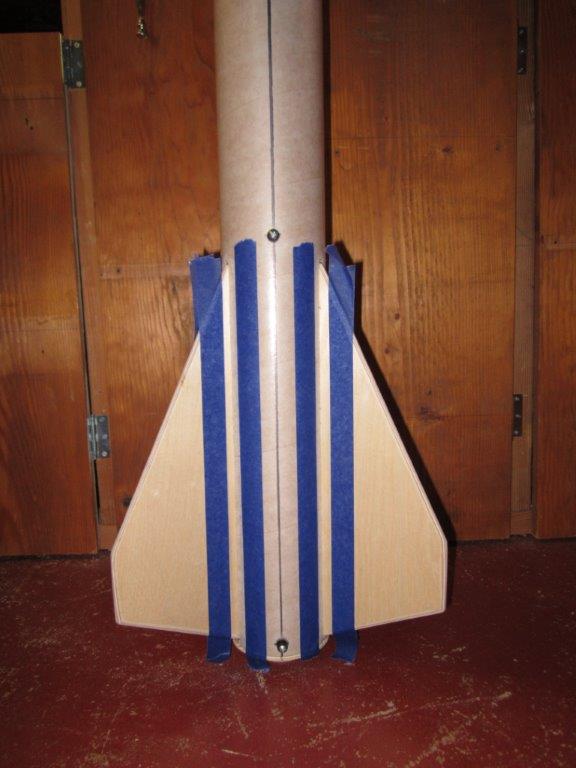
Blue painter's tape can help with forming nice clean fillets and keeping epoxy off the rest of the airframe.
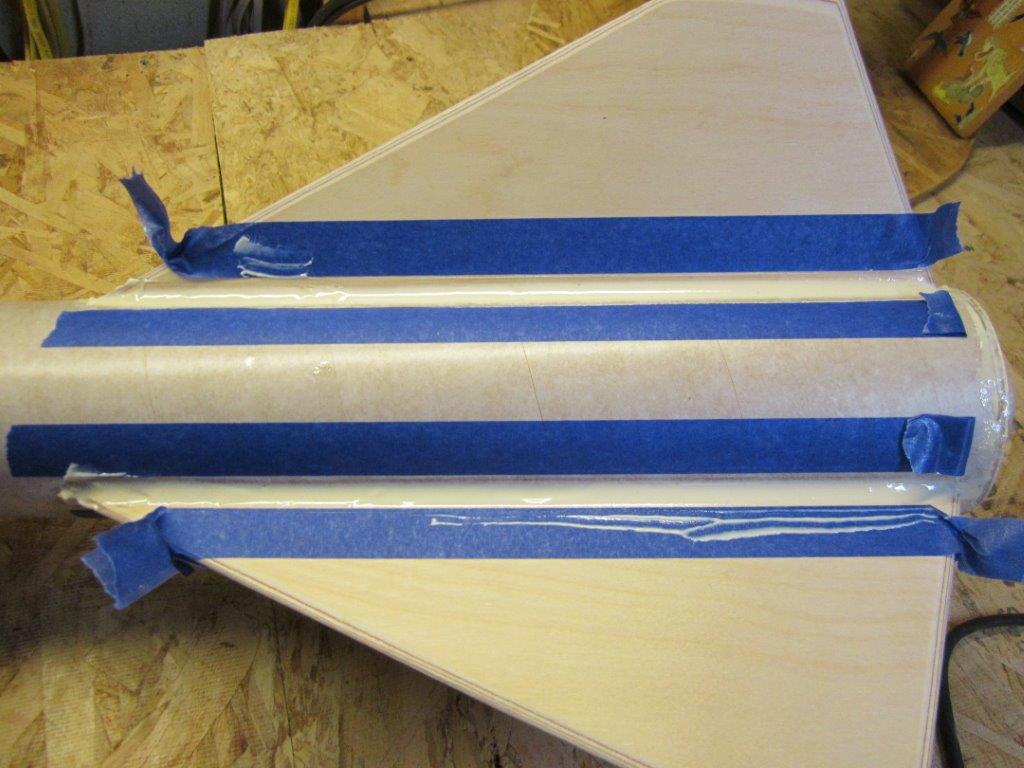
For this rocket, I used Loctite 9462 in a dispenser gun for the fillets. It is available from McMaster-Carr, part #6430A33. This epoxy is very strong and has a high viscosity, meaning you can do all 3 sets of fillets at once and not worry about them running.
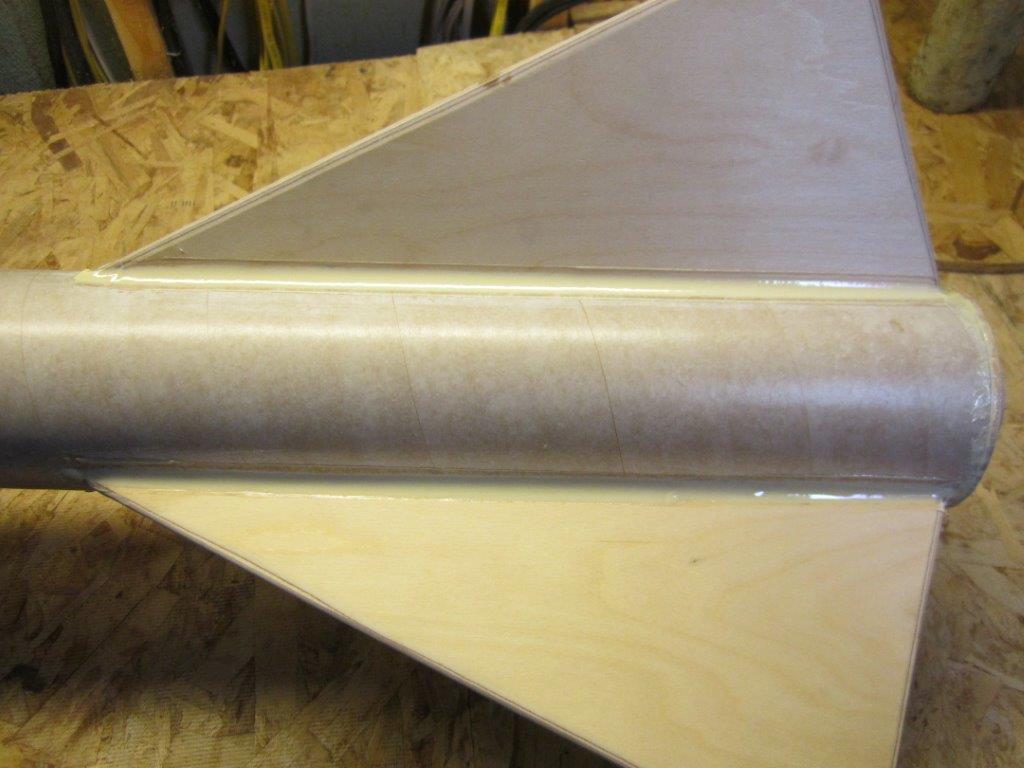
The tape is then removed once the epoxy is partway cured.
Painting
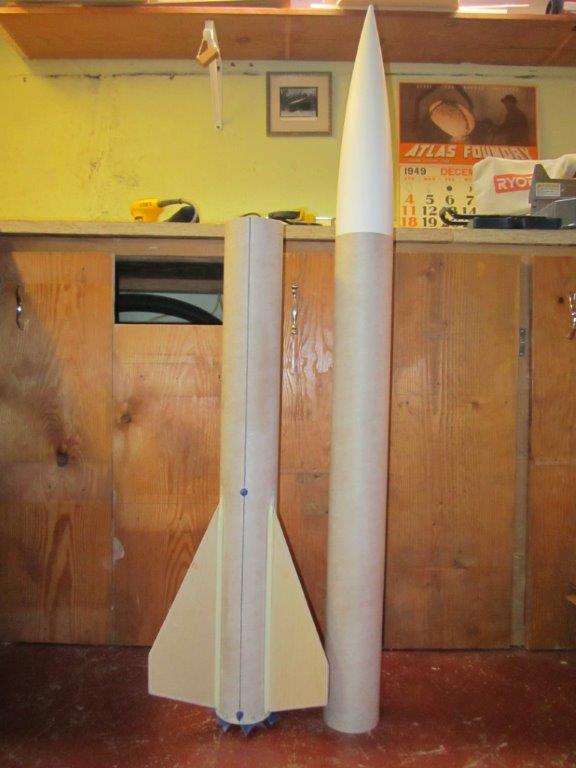
Before we begin painting, the airframe has to be prepped. First, we sand the fins and nosecone with 80-grit sandpaper. (The cardboard airframe is coated with a glassine that accepts paint without sanding.) Then, the entire rocket is wiped down with a wet shop rag to remove dust and other debris.
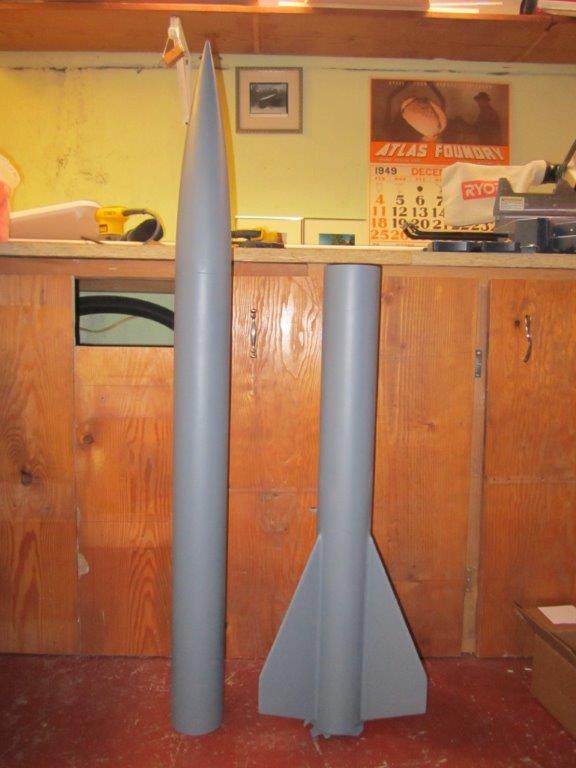
I painted this rocket using Rustoleum spray paint. First, we spray 2 coats of gray primer.
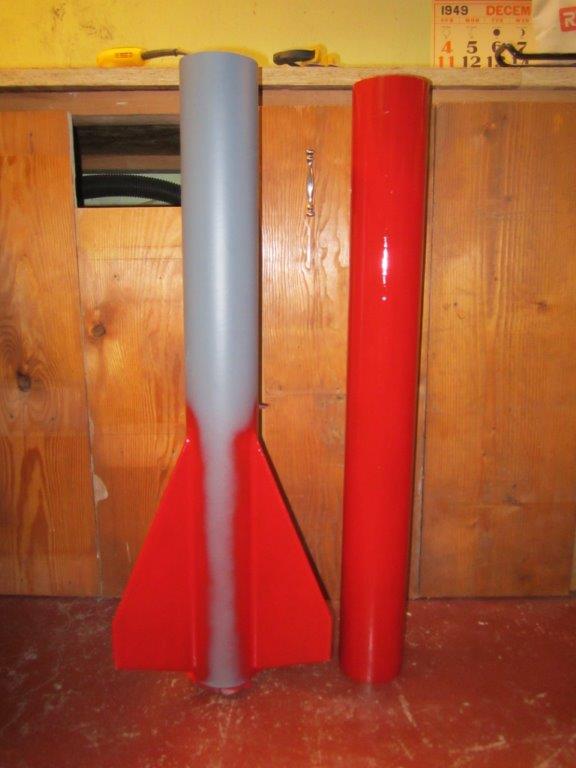
Next, 2 coats of red.
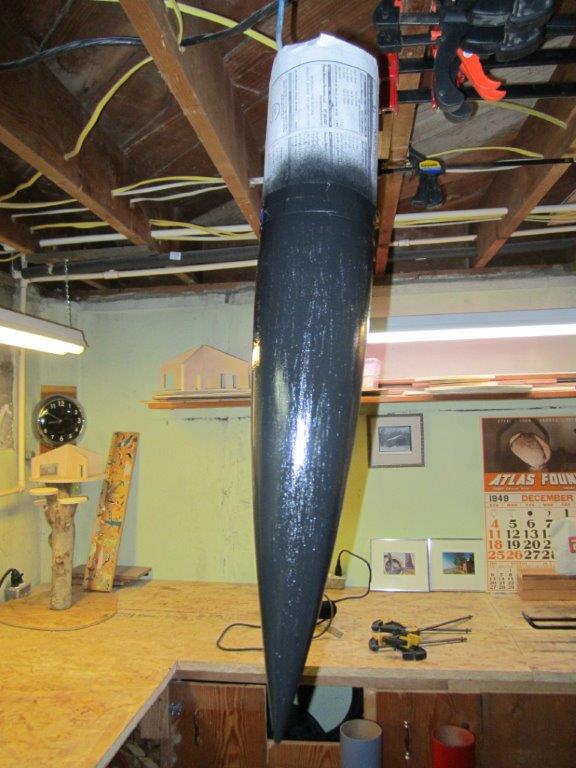
2 coats of black on the nosecone.
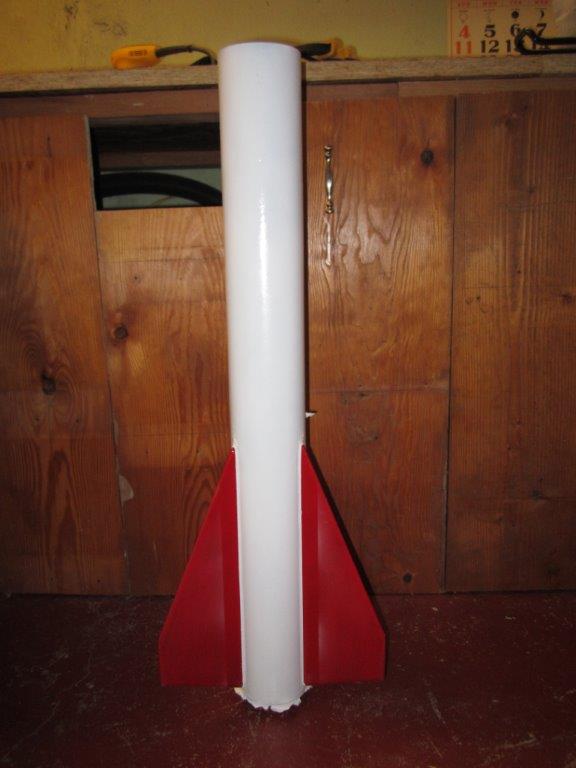
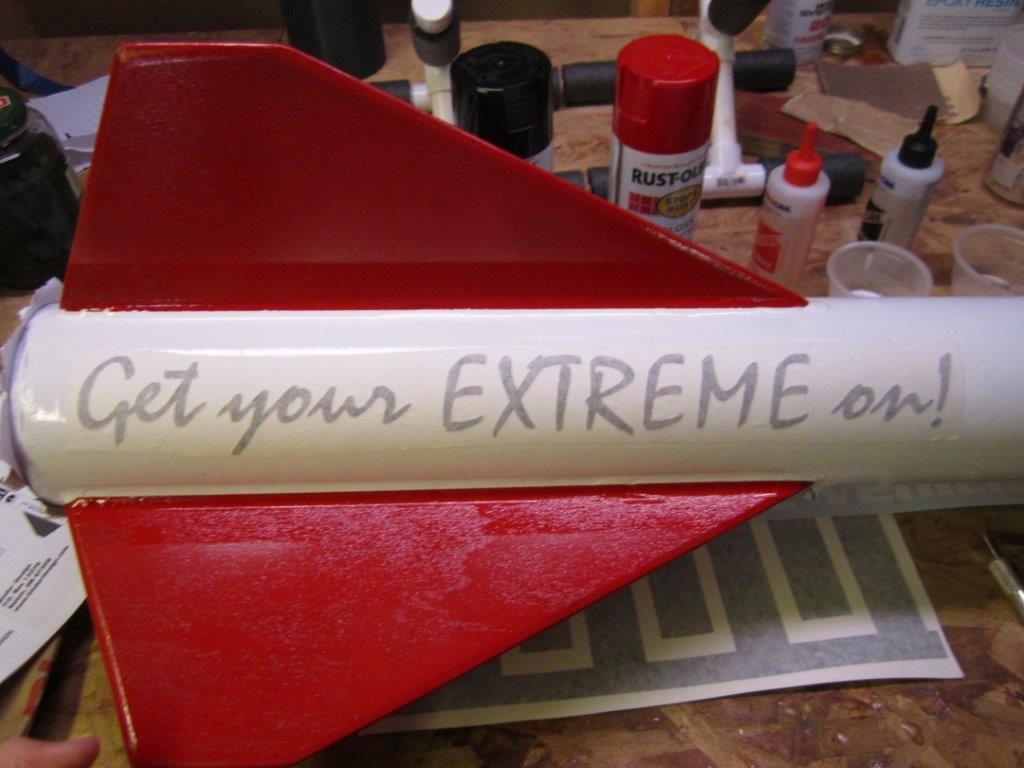
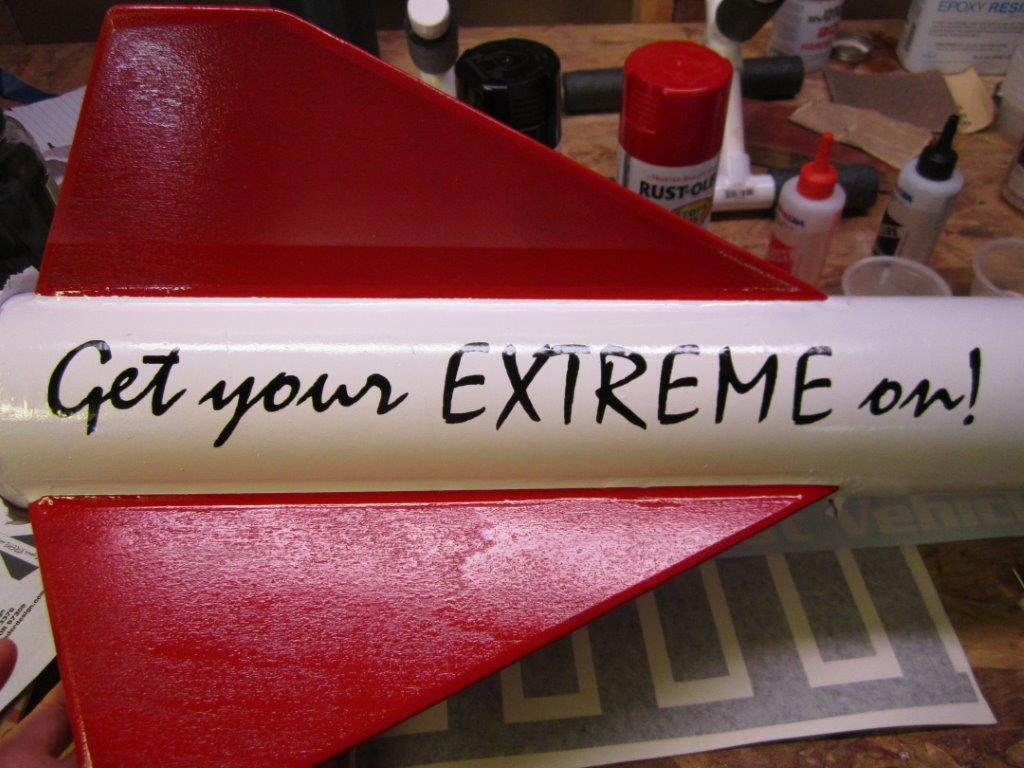
Then we mask off the (red) fins and spray 2-3 coats of white. This was especially difficult to get to look good as white paint does not have very good coverage, and other colors like to show through underneath it. Note that I was a little sloppy with my masking on the first pass, and a little bit of overspray got on to the fins. I later went back and corrected this.
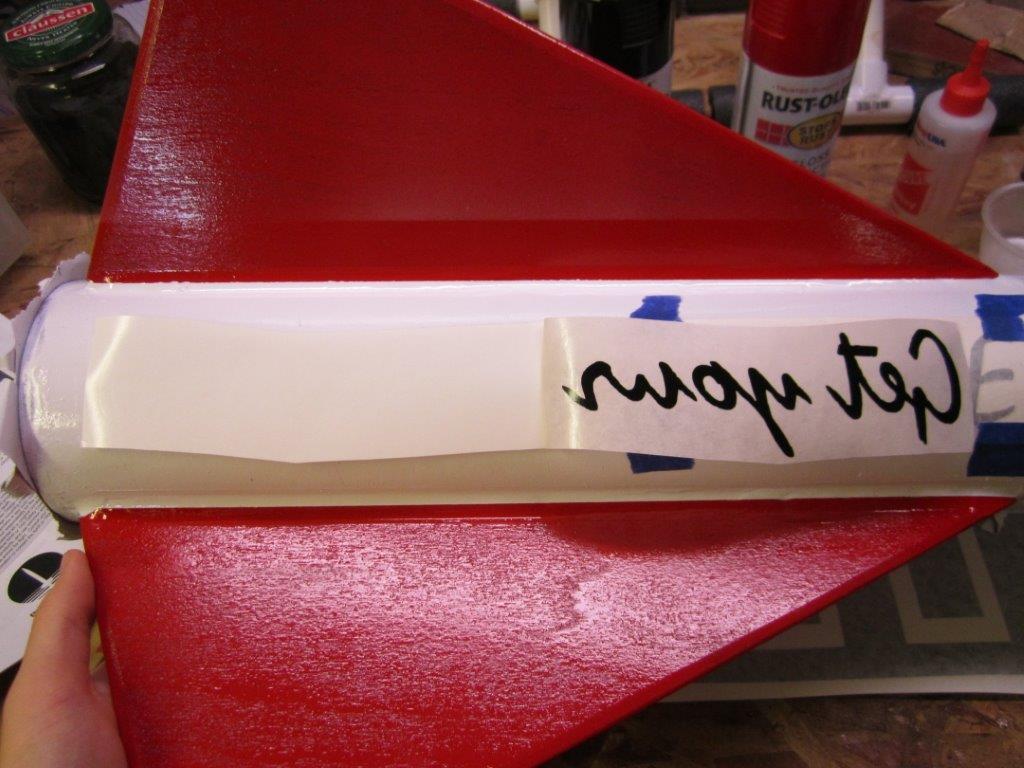
Decals
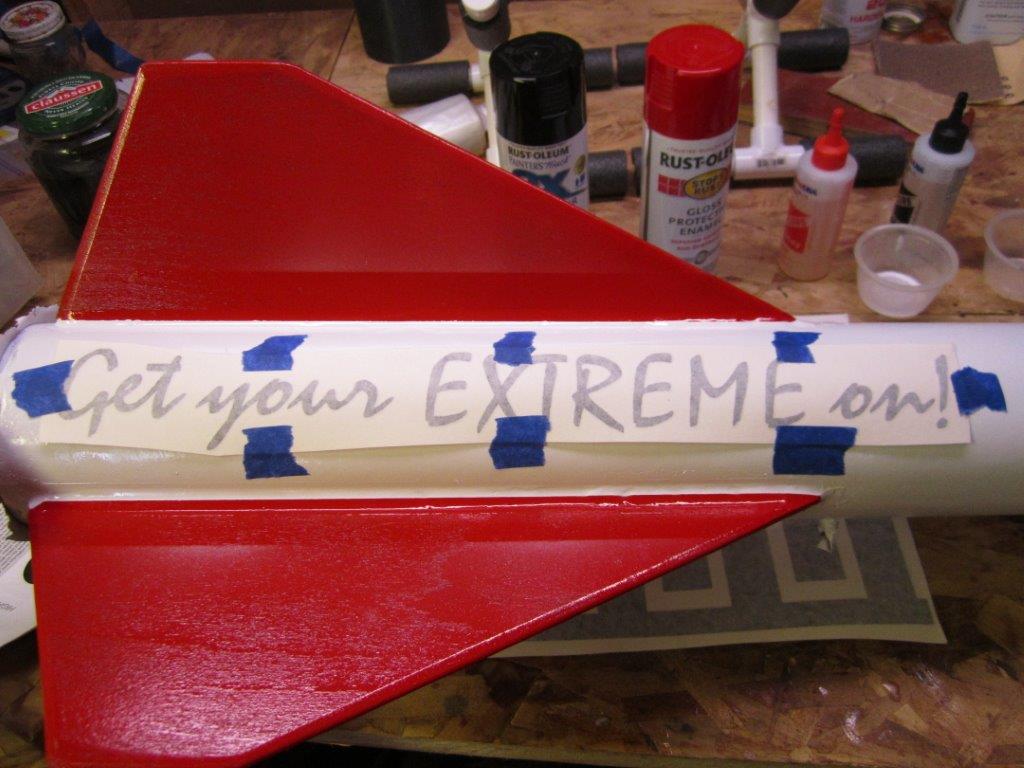
This kit came with an "advanced" decal package. To apply them, I used a trick I learned from Vern Knowles. The decals come attached to a backing with application tape over the top. First, we align the entire decal exactly where we want it, and tape it into place with painter's tape.
Then, we remove one half of the decal and peel it free from the backing.
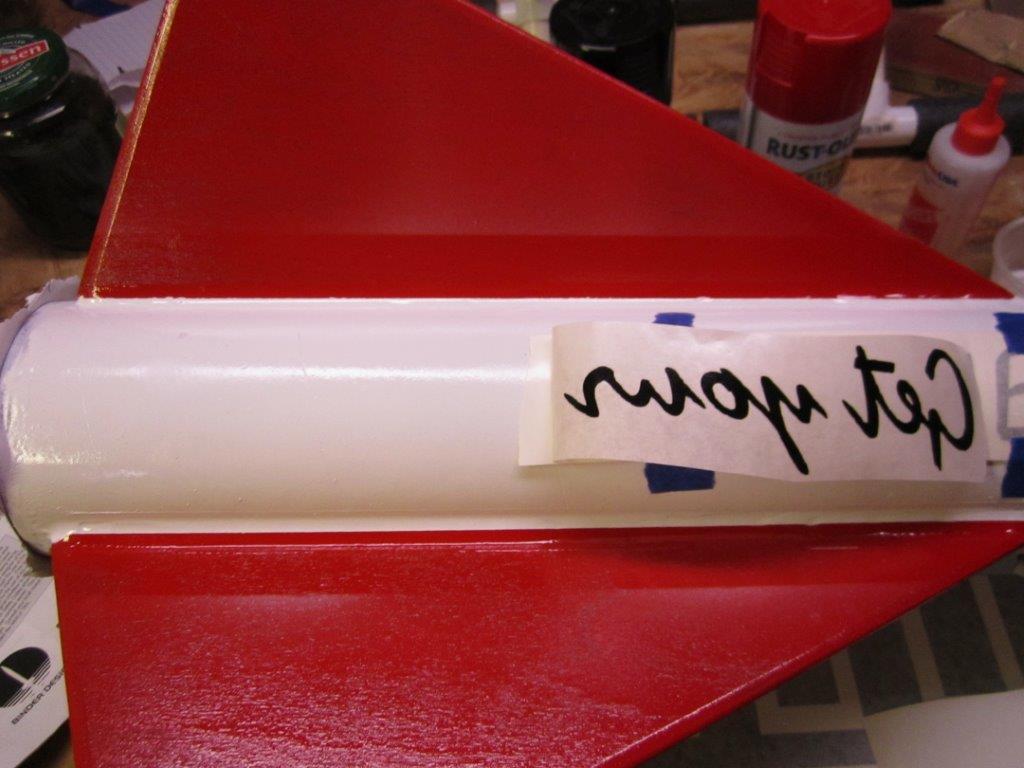
Next we trim the backing free.
After that, apply that side of the decal in place.

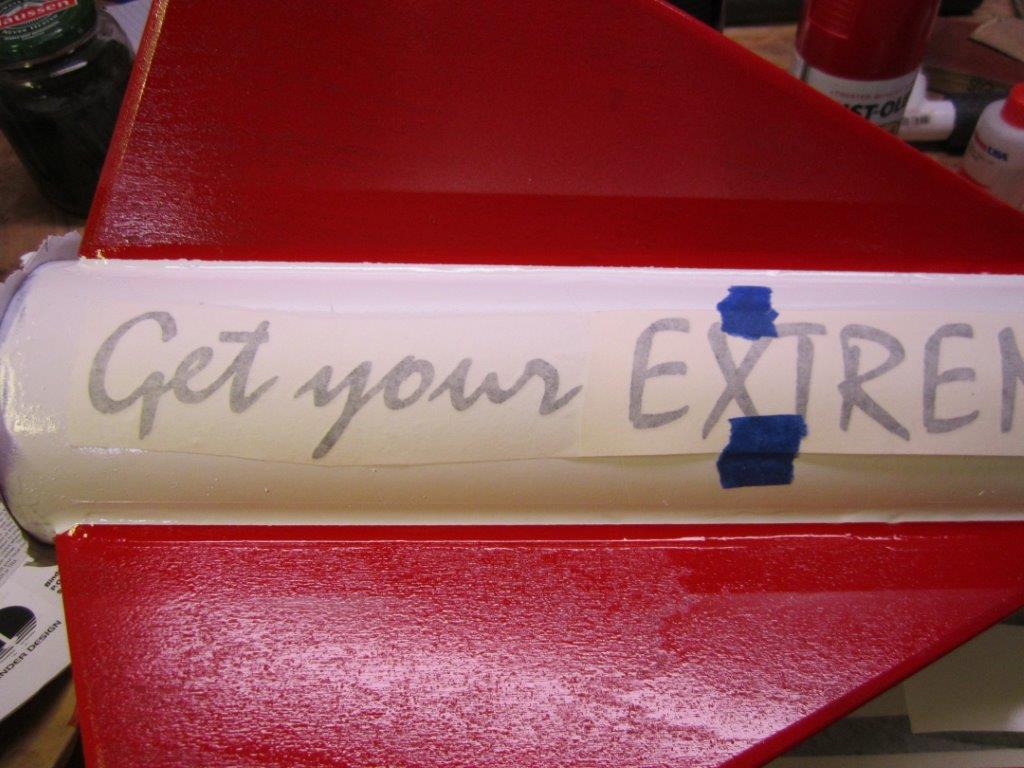
Now, on to the other side.
Remove the backing.
And then stick that side of the decal in place.
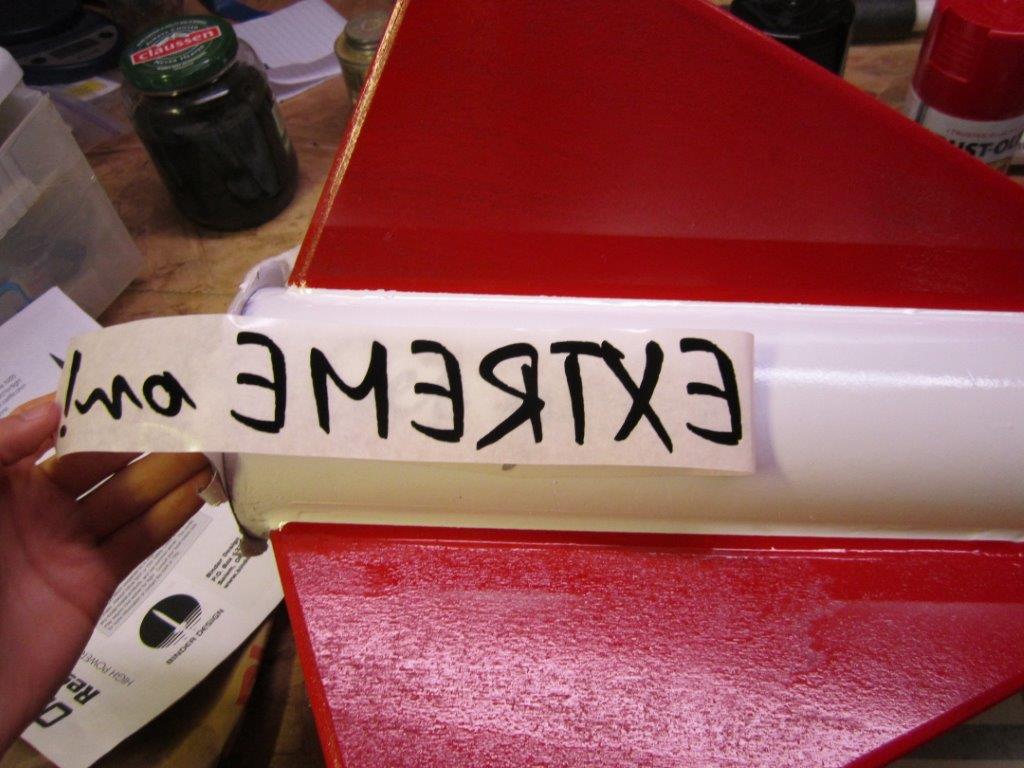
Now, the application tape can be removed yielding a finished decal.
Repeat this process for the other decals, and we're all set. The wrap-around was by far the hardest to align properly.
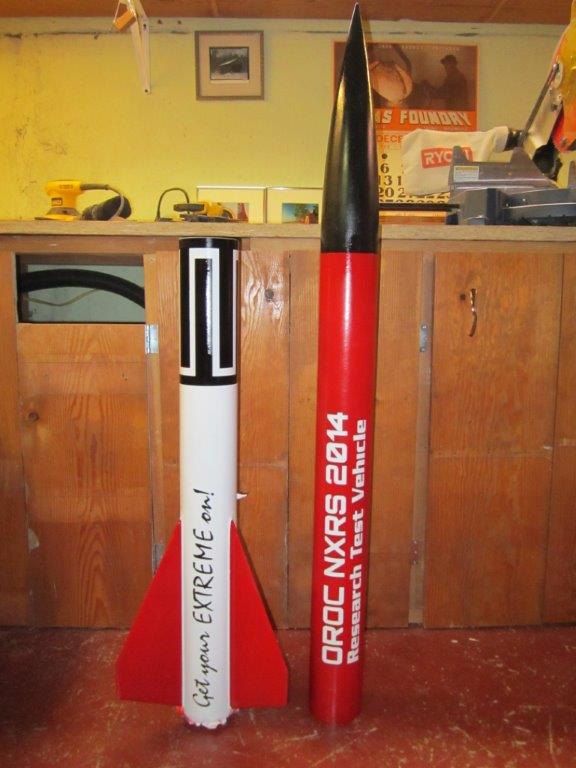
Completed Rocket
Once the decals are complete, we give the entire rocket 2 coats of Rustoleum clear coat.
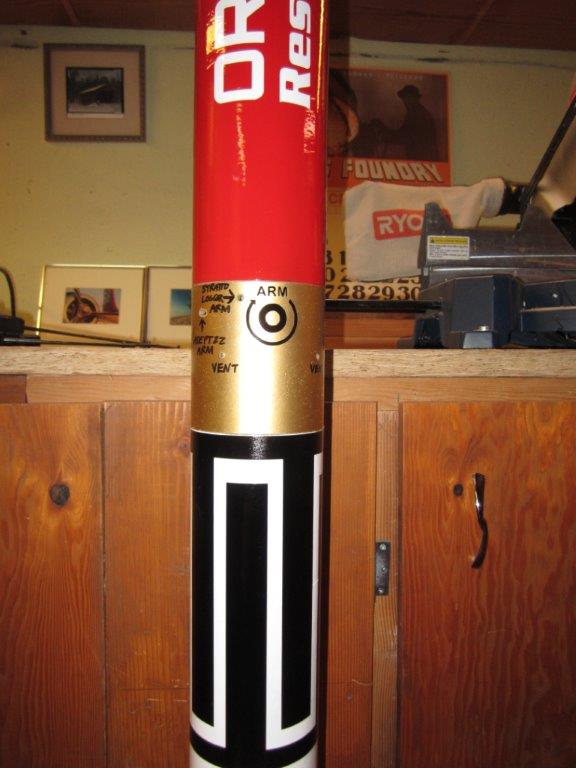
The "gold band" (not shown in the previous photo) is the av-bay switch band, where we can drill holes to access the altimeters. Labels can help us identify what's what.
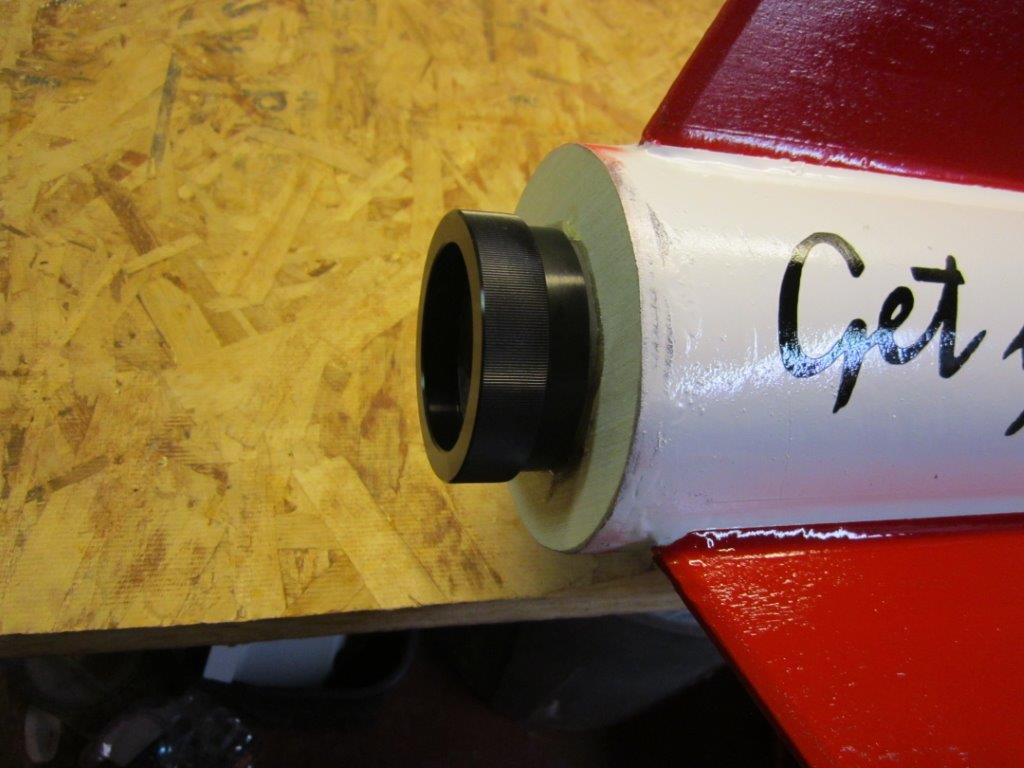
Last but not least, we glue a 54mm Aeropack motor retainer in place using JB Weld.
Flight Log
- May 17, 2014 - Aerotech K805G (Brothers, OR).
- First flight, max altitude 7,727'.
- June 29, 2014 - Aerotech K250W (Brothers, OR).
- Max altitude 10,158', highest-ever altitude the NXRS RTV has flown.
- July 27, 2014 - Aerotech K550W (Brothers, OR).
- Max altitude 7,502'.
- September 27, 2014 - Aerotech J350W (Sheridan, OR).
- Max altitude 2,799'.
- October 19, 2014 - Aerotech K1103X (Brothers, OR).
- Max altitude 7,777'.
- May 16, 2015 - Aerotech K270W (Brothers, OR).
- Max altitude 8,354'.
- June 26, 2015 - Aerotech J540R (Brothers, OR).
- Max altitude 4930', but damaged a fin on landing as the main chute didn't pull out all the way.